If you haven’t checked out my IG feed, I posted some pictures of my stock tank garden beds.
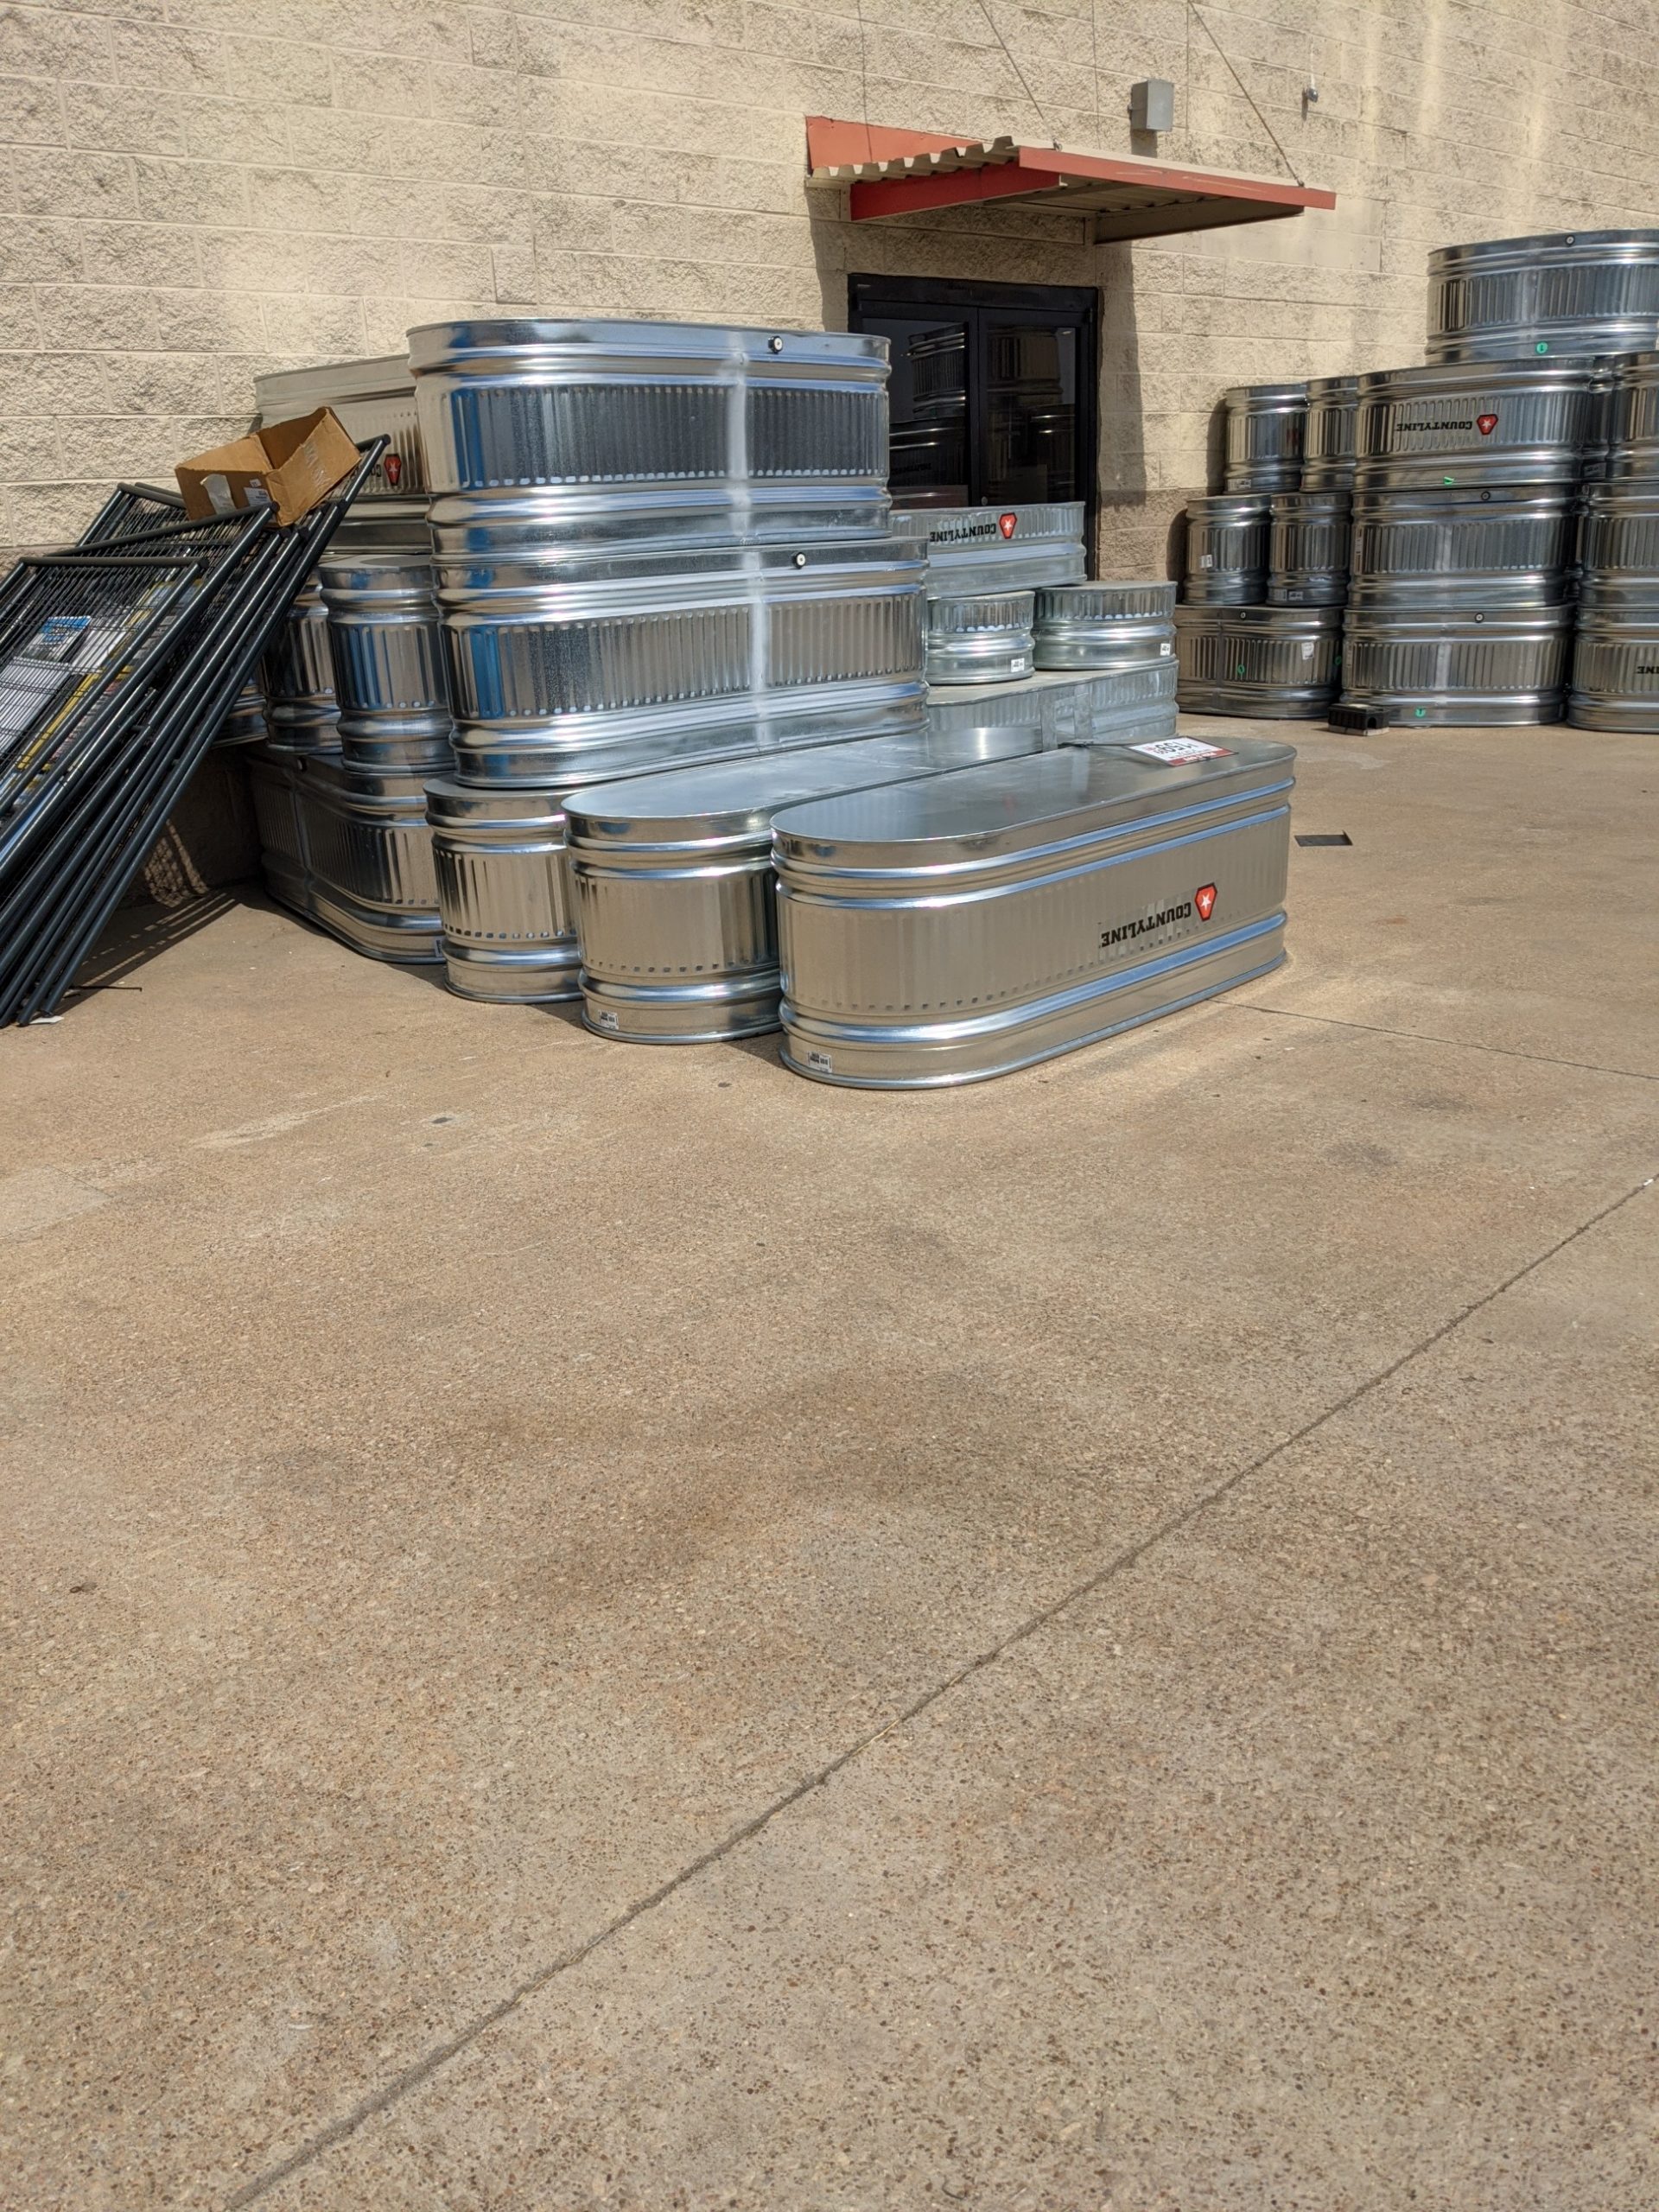
These took a couple weeks to build and assemble. I purchased the stock tanks on sale at Tractor Supply Company. I originally wanted to go with the 2×4 tanks, but the size and sale price of 2×6 tanks made them too attractive to pass up. Of course, their size meant we had to rent a truck to haul them home. Luckily, we still had other yard projects that required the rent-a-truck to transport supplies.

Due to their size, I knew these tanks had to be mobile. Especially when filled with soil and water, they’d be a challenge to move around on my patio. I purchased 3/8 carriage bolts, heavy duty casters off Amazon and some waterproof stain. The stain was to seal the lumber on which the casters would be mounted. Finally I had to wait a week to get in an order of 5/16 galvanized threaded bolts, washers and hex nuts…because none of the local home improvement shops had sufficient quantities in stock to buy.


While I waited for the hardware to arrive, I drilled drainage holes in the bottom of the tanks. This required some titanium bits and some wrist strength, as drilling into steel can cause the drill to torque. I then marked out the area where the casters would be mounted. I was banking that 2 pieces of lumber would be enough to support these tanks upright.
I then secured the lumber to stock tanks using 3/8 carriage bolts, washers and hex nuts. Once the 5/16 hardware arrived, I was then able to drill and secure the casters to the lumber.


I then sealed the lumber and the inside of the stock tanks with silicone to prevent water seeping into or leaking into wood. It’s important to have the lumber last as long as possible since I depend on these supports to move these tanks around the yard and patio.
Once everything was drilled and sealed into place, it was time to get the tanks onto the casters and filled.
I lined the bottom with leftover landscape fabric then threw in 2 bags of lawn trimmings and cuttings. Afterwards, I layered in organic raised bed soil, compost, vermiculite, peat moss and perlite, adjusting as needed to get proper drainage. It’s quite an upper body workout to till and turn the soil media,

Fabric liner 
Lawn trimmings and organic raised bed soil for layering on top 
Drainage test revealed a need for more perlite 
Vermiculite and peat moss 
Tilled and ready to plant
Sprinkled in some Espoma Organic Garden-Tone fertilizer then it’s off to planting veggies! By the way, this seeding square is awesome for spacing out new plants!

I had quite a number of dill, kale, lettuce, broccoli, brussel sprouts and cauliflower starts, along with some lettuce seedlings I began indoors. In between the rows, I also stuck some garlic cloves, which took no time to sprout. Unfortunately I have way too many plants to fit in one of these tanks, if I stuck to the square-foot gardening method.

Plant purchases 
Brussel sprouts and Broccoli starts from Burpee 
More crops to plant 
Seeding square to space plants out 
Plant Layout 
Planted!


With one bed planted, I realized my new starts needed a little more sun. So I moved them to the east side of the pergola. Even with casters, the tank was almost too heavy to move on my own! I’d like to get more of these stock tanks, but size and mobility are definitely going to be deciding factors…likely I’d go with the smaller tanks next time.
Stay tuned for stock tank #2 details!


")
")
")
")
")
")
")
")
")
")
")
")
")
")
")
")
")
")
")
")
")
")
")
")
")
")
")
")
")
")
")
")
")
")
")
")
")
")
")
")
")
")
")
")
")
")
")
")
")
")
")
")
")
")
")
")
")
")
")
")
")
")
")
")