Grow Station Build Part 1

In our garage, real estate is a premium. And no matter how much I emphasized to the DH that the garage is a shared space, inevitably his tools and projects encroach on my grow space.

To be fair, the number of plants in the garage was growing exponentially with each seed starting venture. I had potted plants huddled under grow lights on the ground, and navigating through the garage was like running an obstacle course.

The only way that I could organize is to go up. I spent weeks planning my vertical grow rack build, with a majority of that time researching LED lights. Earlier this month, the parts to my vertical build started arriving.

First was the rack itself. I needed something mobile, heavy duty, with shelf space measuring 2′ x 4′. This size would ensure that I could fit up to quantity 4 1020 seed starting trays.

While I have several metal wire racks that I’ve purchased over the years to store comic books and my workout equipment, I needed to make sure that this plant rack would be able to support at least 2 sets of grow lights, the electrical bar, and a host of potted plants. I’m thinking at least 200-300 lbs of supported weight per shelf would be the minimum.

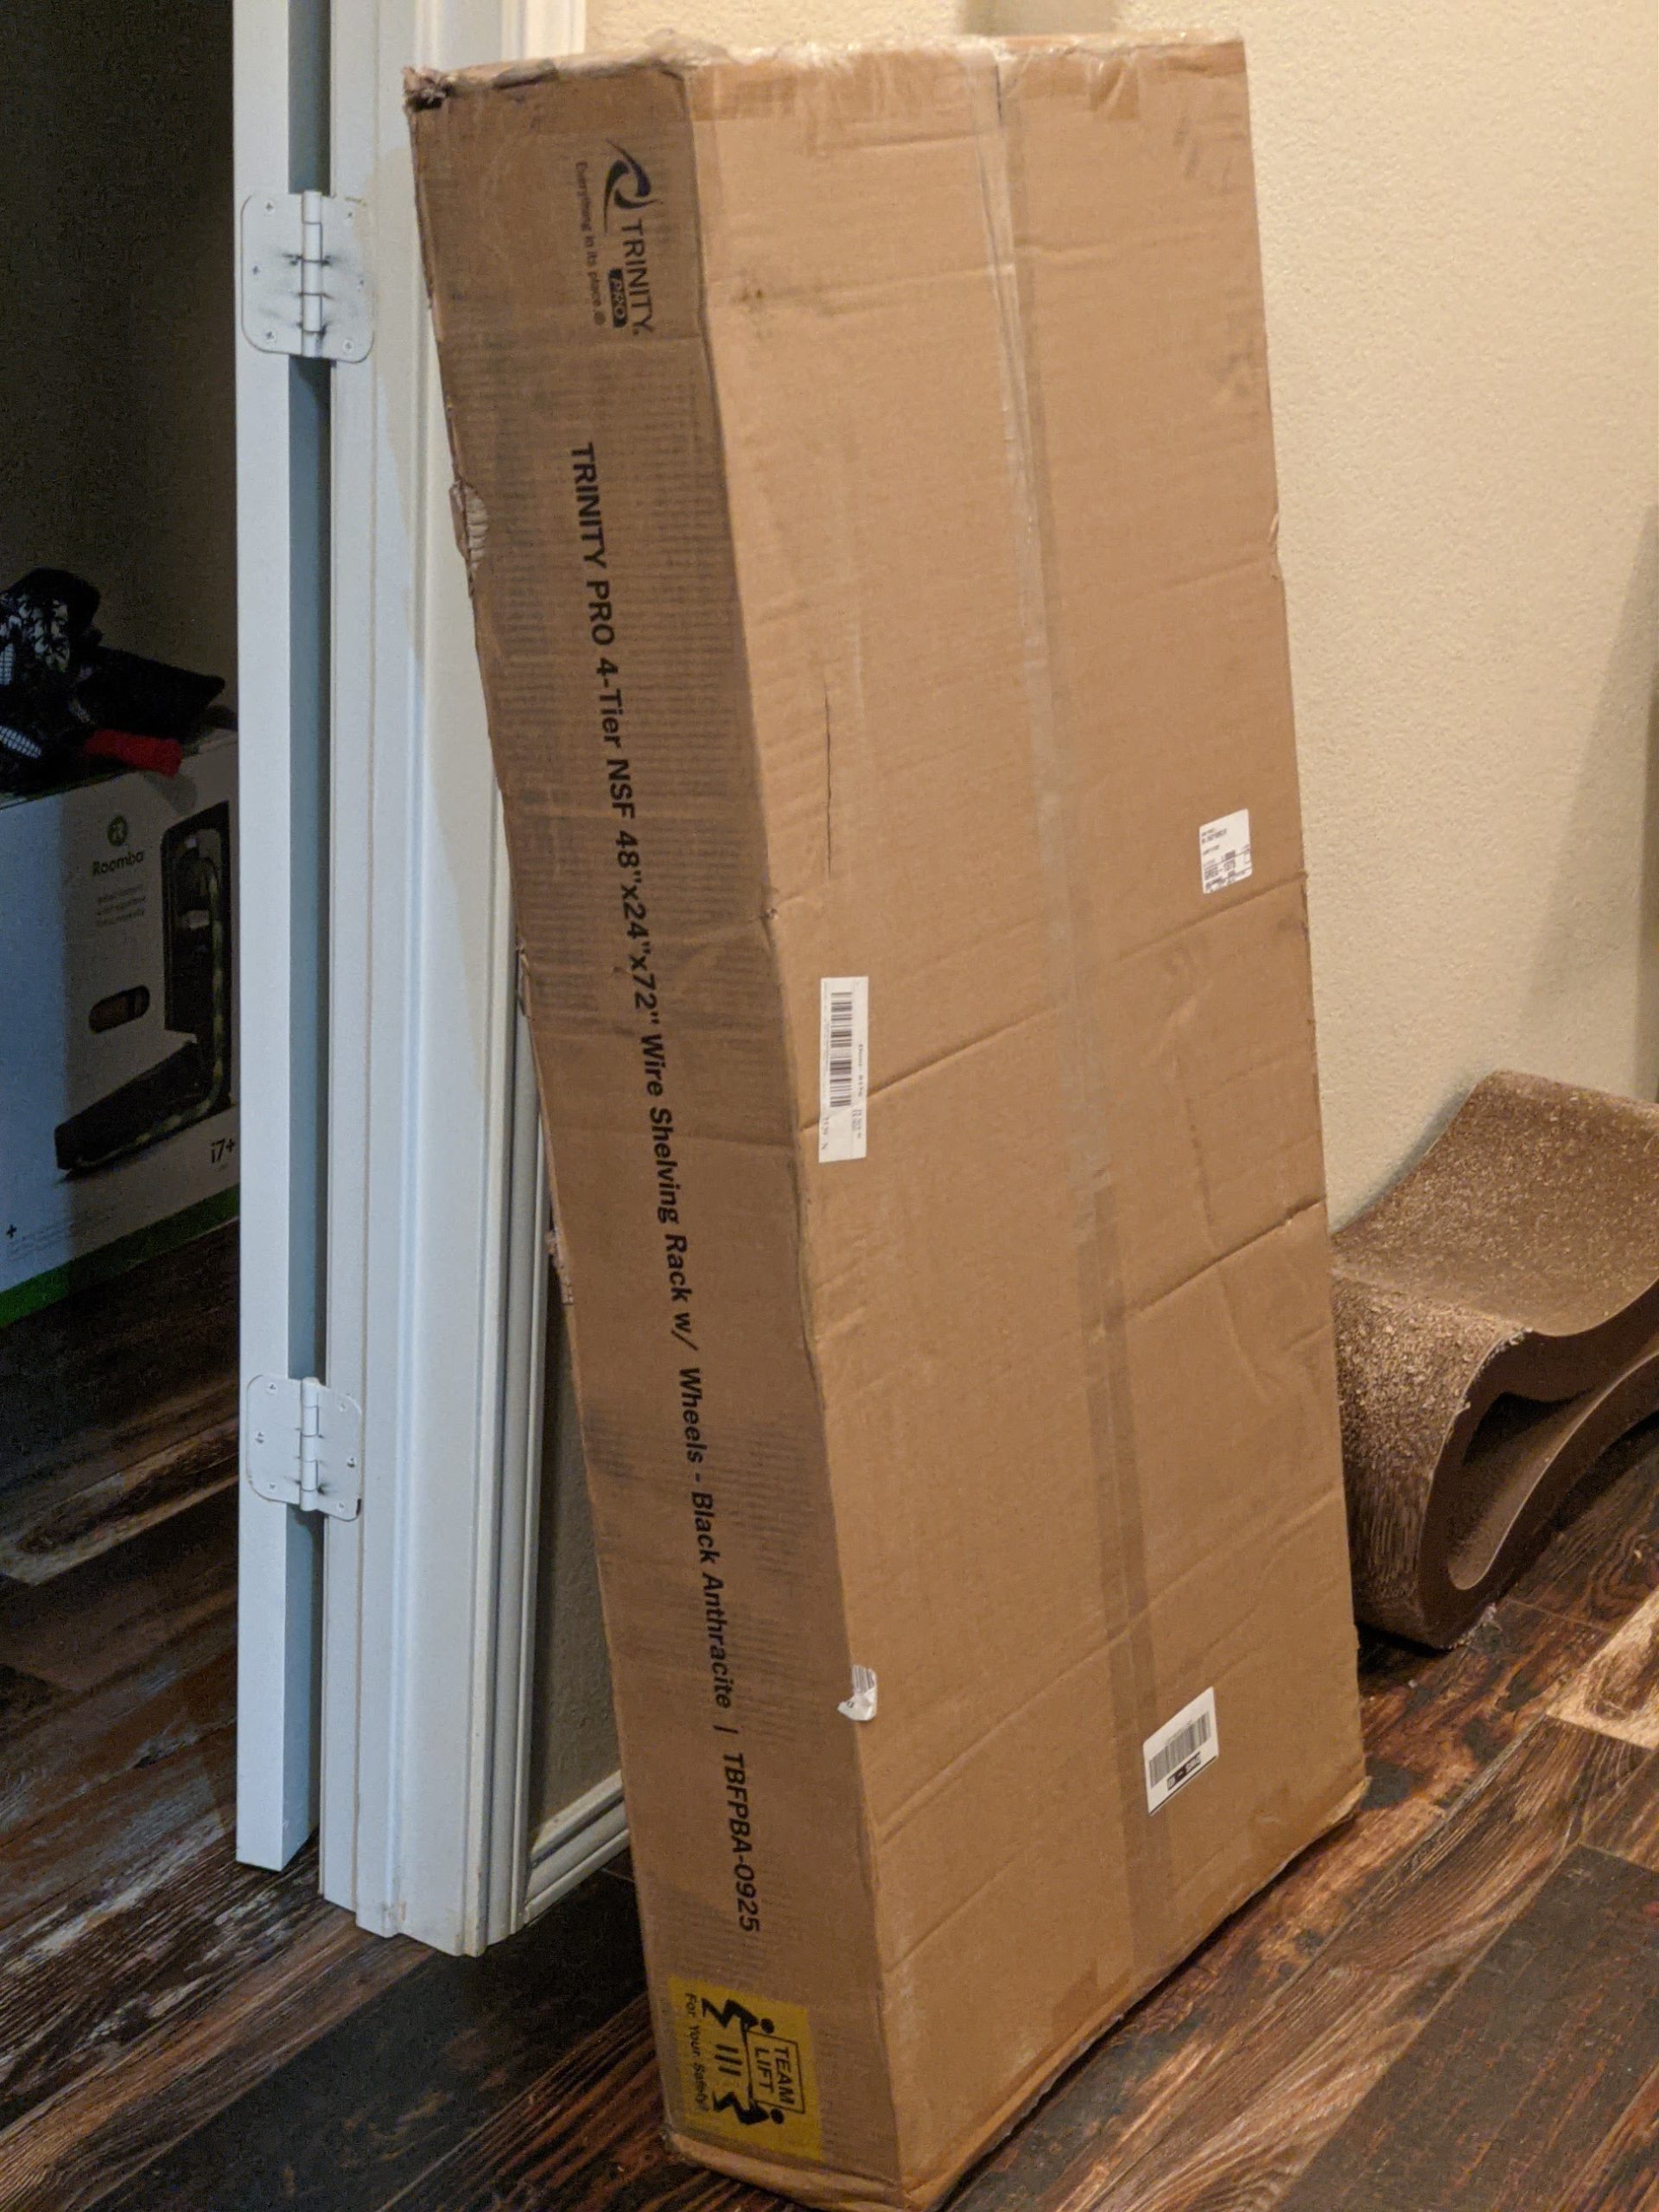
I decided on the Trinity PRO 4-Tier Rolling Steel Wire Garage Storage Shelving Unit from Home Depot. It’s described as a commercial rack, and I can attest to it’s well-built and sturdy construction. It has a nice anthracite black powder coat finish, though time will tell how long the finish will last in the heat. Also, the rack is very tall so it took a ladder and some muscle for me alone to erect the top shelf. For future note, I would say a rack of this size will need 2 people to complete.

I added these Gorilla Grip heavy duty 24 x 48 inch shelf liners I found on Amazon to the rack. I wanted to make sure that water wouldn’t overflow, trickle down and possibly damage the LED lights I planned to suspend underneath the shelves.

Now on to the fun part. I found that the Hyperlite Groplanner O series LED panel system seemed most ideal system for my DIY grow station build, and the best bang for my buck. Now I should note that I’m a hobby gardener more interested in ornamental and vegetable growing. There were TONS of grow light systems that I sorted through online, most geared toward commercial and “medicinal tomato” growers. Many sellers and reviews highlighted premium features such as name brand LEDs (Samsung), high end drivers (Mean Well), and boasted of high umole efficacy and PPFD/PAR ratings, alongside convenient functions such as dimmer controls and daisy-chaining.

Once I got all the competing brands and models into a spreadsheet, crunched some numbers, and compared the different feature sets, I decided the Groplanner LED system looked best on paper. I purchased the 2-panel 300W system to light the bottom rack where my peppers and potted lavender plants would be housed. Eventually I installed the lights mid-rack, to provide light to my starter plant trays.

Here are unboxing pictures of the 300W system. It came very well packed with all the accessories and hanging hardware I could need. The instructions were a bit too much on the fine print, but thankfully I found the assembly instructions posted online.

I can’t say with any confidence that a 2 light system will cover a 2×4 area at a height of 12-16″ so it is very likely I’ll be looking to expand to a third module.

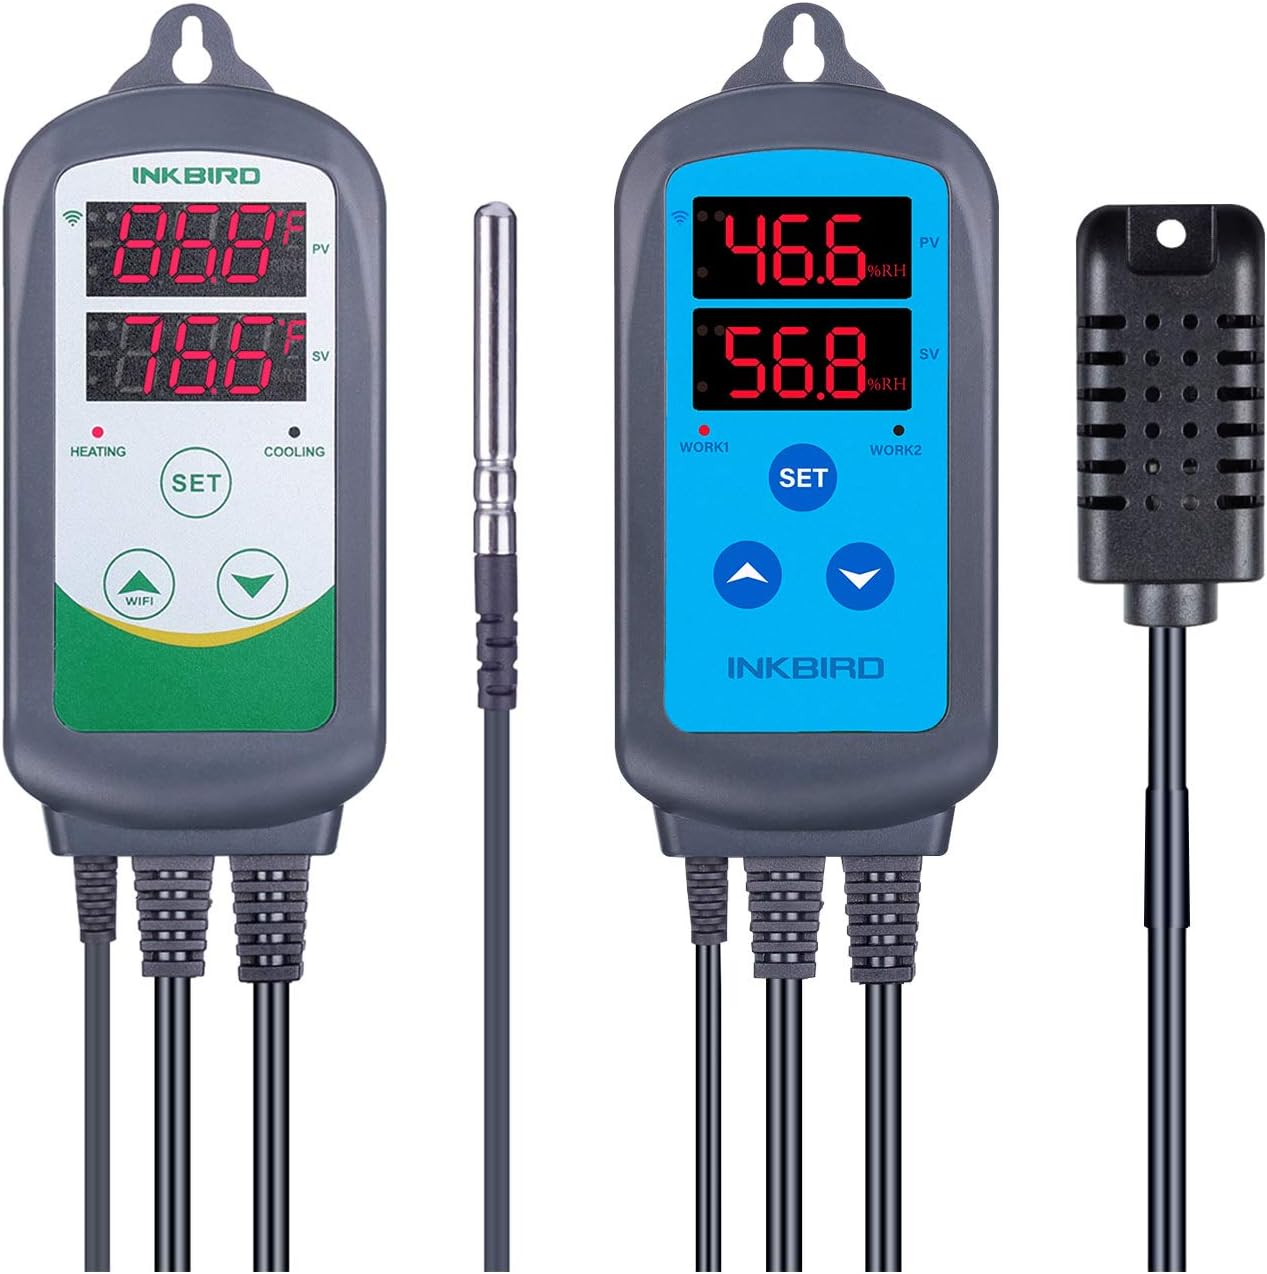
Since I may be using the middle shelf to start seeds, I will be purchasing some 2×4 heat mats. I also plan on getting a full size garden tray to hold my potted plants; the seed starting trays I’m using now make it harder to organize the bottom shelf and fit all my potted plants.

More to come…

Windowsill Planter Boxes

My man was in a workshop fury since the weather got cold. He’s been cleaning and organizing the garage workshop while at the same time making a mess building DIY projects.

So I put him to work to upgrade my windowsill planter boxes. I have so many herbs and starter plants to bring indoors…it was about time to take advantage of that south-facing window.

The final product populated with all types of herbs, including cat grass for the kitties to graze on.

With so many herbs and starters in the windowsill planter, it’s a lot of work to keep things watered and maintained. Either we start using more of these herbs or I’m going to have to start tossing some of these in the mulch bag.

Golden Delicious Pineapple Sage blooming in the windowsill planter

Wishlist: Grow Light Upgrade

Now that winter temperatures have finally arrived in North Texas, the plants that I intend to shelter indoors have settled into their new home in the garage and on my window sill.

I’ve had a combination of LED shop lights made by Lights of America and iPower red-white-blue LED tube with stand to start seeds and grow plants indoor.

On my potting bench, doubling as my seed starting rack, I also have a total of 4 heat mats, to keep my seedlings and starter plants cozy. I recently had to re-purchase an Inkbird temperature controller, and threw in a humidity controller.

Two-for-one deal at Amazon

I went ahead and also splurged on a 4ft 10-outlet power strip that I attached to the back of the potting bench, and some wifi-enabled Wyze smart plugs to which the lights are connected.

Sooo many mouths to feed

I’m debating if new-tech LED panels versus T5 fluorescents are the way to go for starting and sustaining plants indoors. In the cold conditions of a garage in winter, a fluorescent light fixture might emit enough warmth to keep temperatures tolerable for mature plants, but cook young seedlings. On the other hand, LEDs remain cool enough to be useful in seed starting and can emit full spectrum light, but tend to be higher in starting costs. Longevity and efficiency are also considerations, since fluorescent will use up more electricity and need bulb replacement more frequently.

I have a 77″ tall rolling wire rack ordered which I plan to outfit with lights and store the remainder of my potted plants in order to reclaim some floor space. But finding a grow light to suit the space, budget and light requirements is daunting. I’ve spent days scrolling through the internet reading articles and watching videos on the subject of grow lights; a search that often boils down to which camp you belong to: commercial horticultural operations or cannabis grower. Anything that caters to an indoor plant hobbyist or small scale/home gardener almost always tends to be of low or budget quality.

Can I get by with $15 Walmart lights? I have successfully germinated seeds with the existing light setup I have, but I’m wondering if I can start them faster, stronger, better? Stay tuned!

More Stone Please

Just as winter brought a chill to the air, our pandemic water feature project gained another ton of rocks. It seems we won’t be finished with this yard crash this year.

We had the finish line in sight when a flow test revealed that the waterfall just didn’t produce a significant amount of noise. At least not enough to drown out some road noise. Now while the slow flow was part of the original design, I convinced the DH that we needed a bigger waterfall.

So the plan is to erect a taller falls behind the original, which necessitated removal of the newly planted lorapetalum tree.

Spillway, pump and PVC tubing are on order from Amazon; now it’s just a matter of agreeing on the placement of the falls and the actual construction work. However, with this winter weather, we feel less inclined to work outside.

DIY Stock Tank Gardens Part 2

I planted the 2nd stock tank garden bed about 2 weeks after the first, to stagger my production. I changed up the filler material and soil composition to see if ultimately results will comparable to the first tank.

End of the season watermelons went into building the foundational layer of the bed, along with stem and brush cuttings. I dearly hope that I’m not growing a watermelon patch in this tank.

In this bed, I used Raised Garden Bed soil, organic compost, peat moss, coarse vermiculite and perlite in different ratios compared to the first bed. I still broadcast Espoma Garden-tone fertilizer over the surface once it was filled up and ready for planting

As with the other bed, tank #2 has cauliflower, brussel sprouts, broccoli, dill and garlic aplenty. This time, I added bok choy and spinach starts. But of course, there wasn’t enough space to hold all the broccoli and brussel sprout starters I still had waiting in the wings. I’ve been discussing with the DH if we should get 2 more stock tanks to DIY into garden beds, but of course the limiting factor will be patio space.

All planted with the winter garden! I left a 12″ square open for the next batch of bunching onions, spinach and lettuce I’ve started from seed. Meanwhile, I plan on using that bouquet dill shortly.