Why does my catnip (nepeta cataria) smell like low-grade lemon balm? To add to my confusion, they look nearly alike.
I’ve discovered that the various catnip plants growing around my yard smell different.
For example, the potted plants I picked up at a nursery have a faint skunk-like odor, which intensifies when dried.
Store bought catnip smells faintly skunk-like
On the other hand, seed grown catnip have a faint minty-citrusy scent. I’ve observed that the minty scent intensifies in catnip grown in-ground versus container-grown catnip. Or maybe I’m just imagining it.
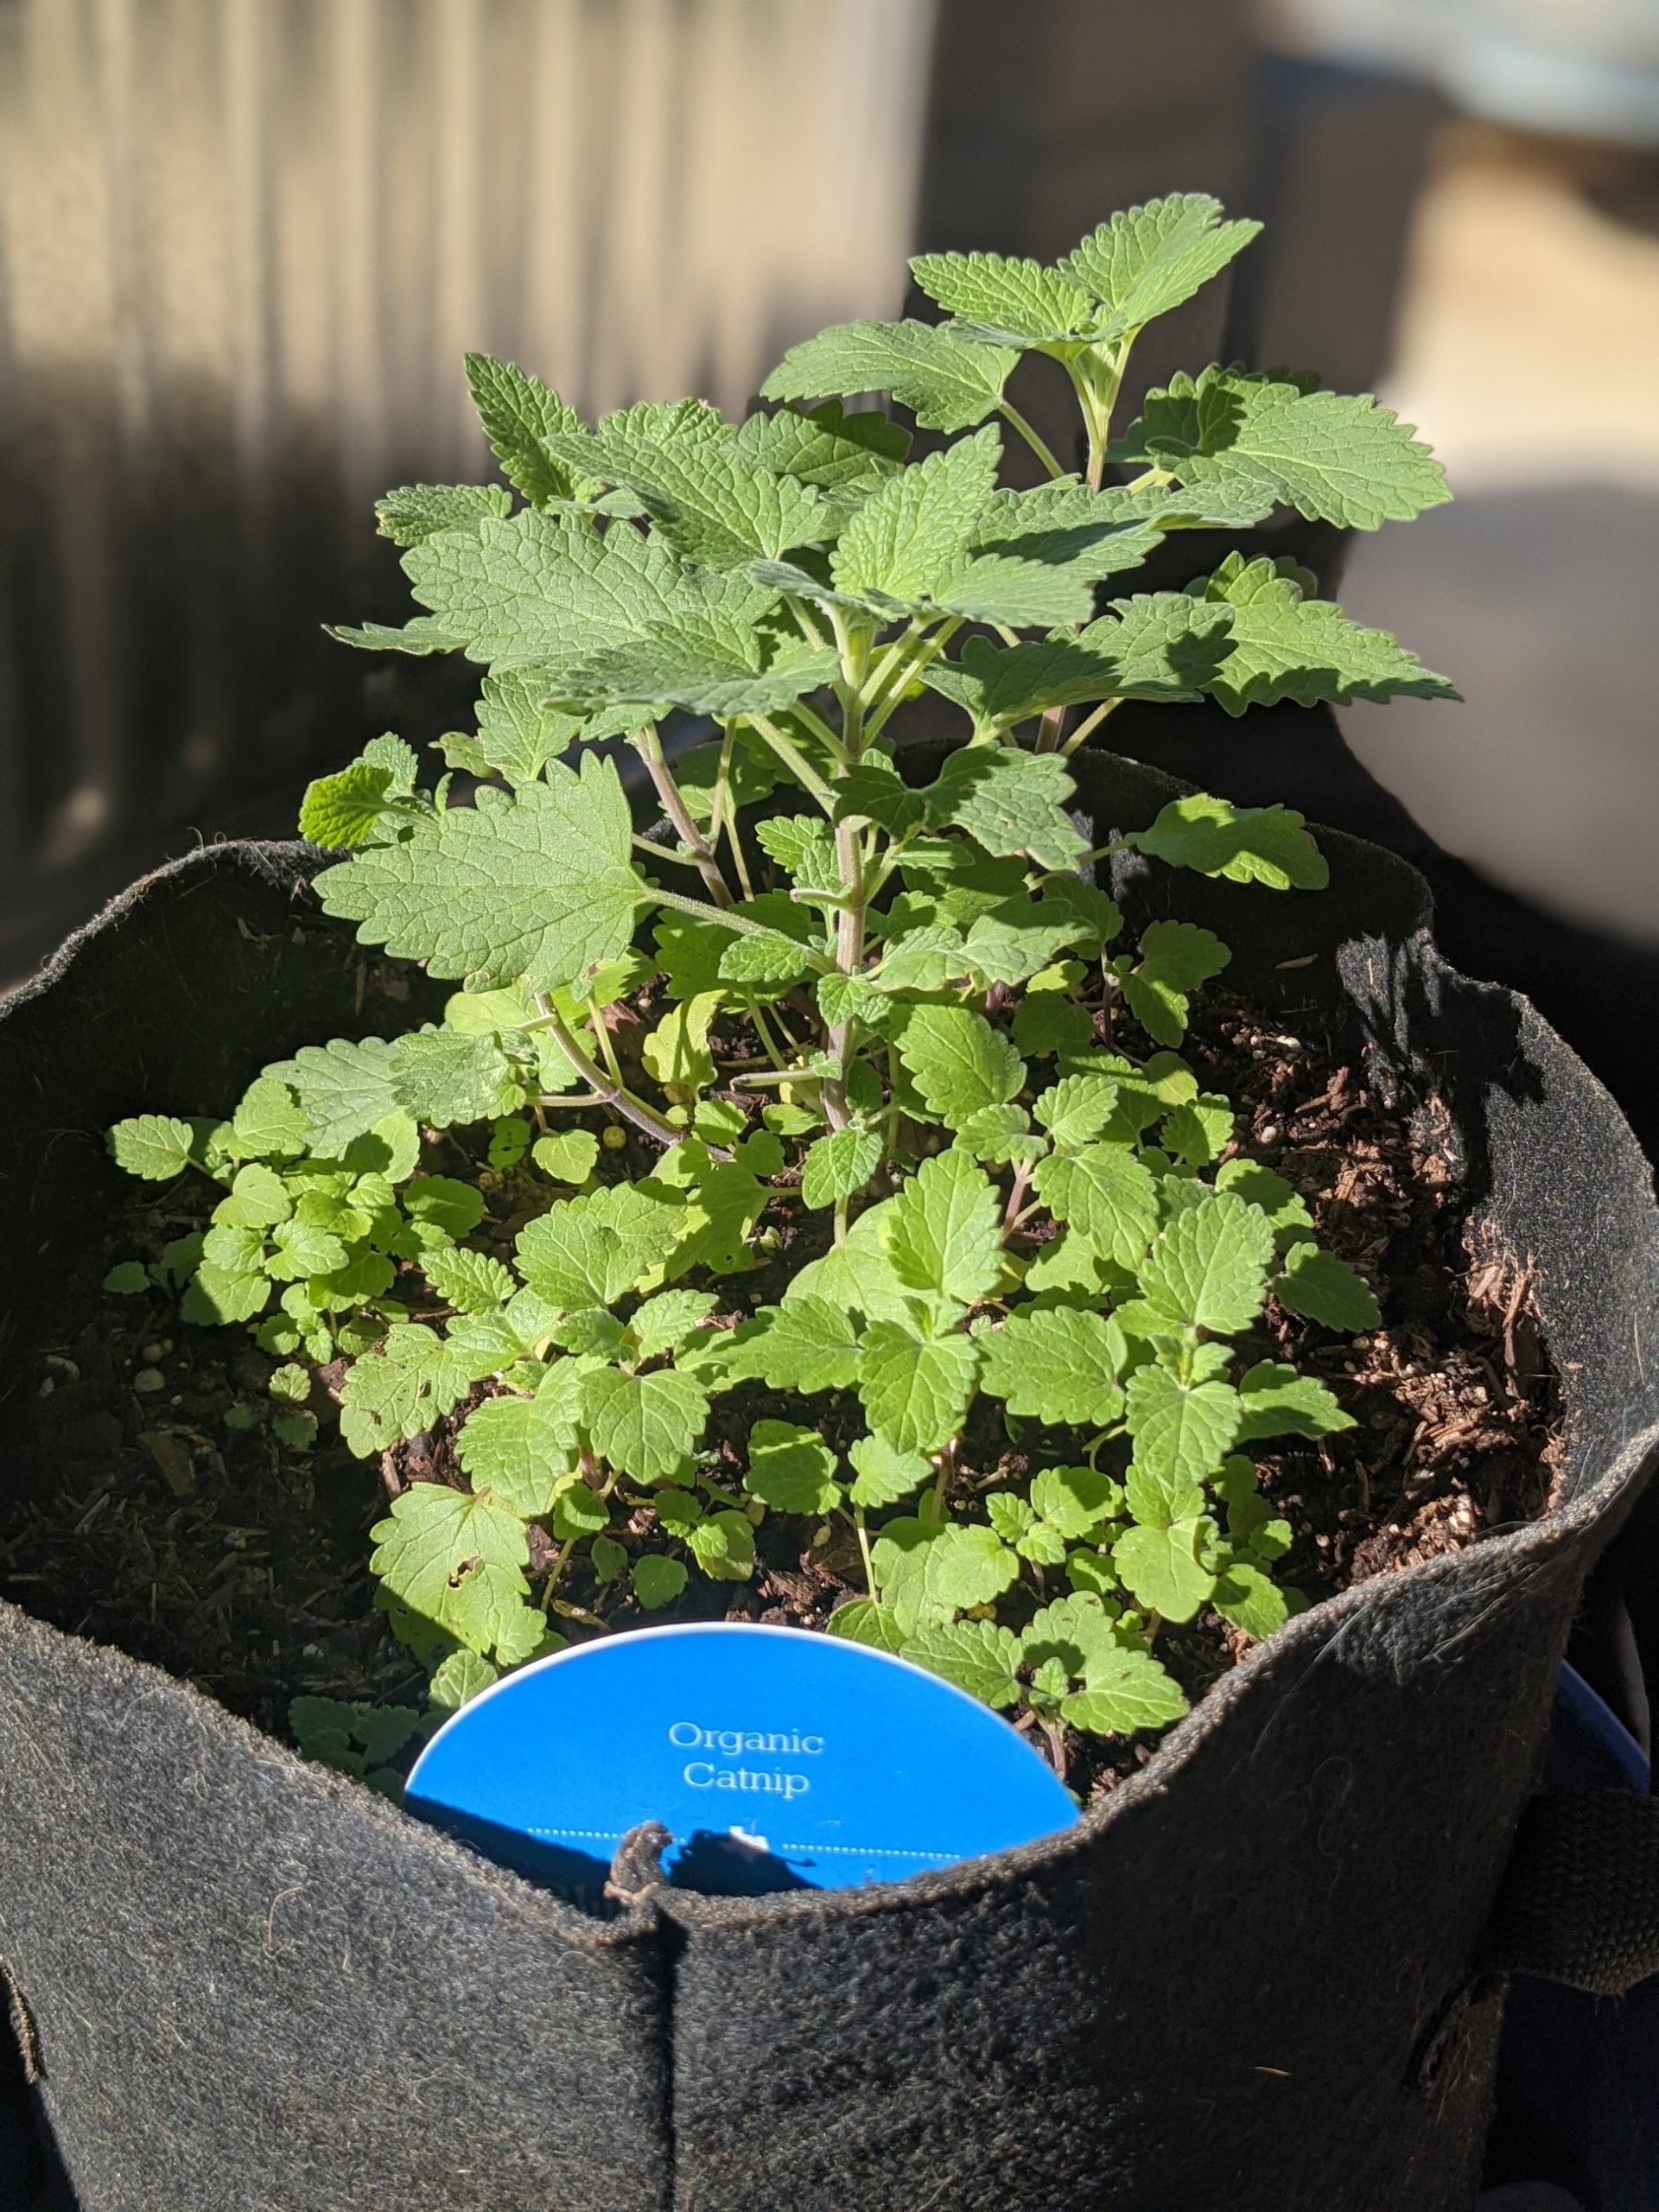
Catnip started in a grow bag
I had forgotten I had dumped some potting soil laced with catnip seed in my flower bed and the seedlings emerged between the perennials, well protected by its taller neighbors. Catnip is supposedly a mint relative, but I can’t attest to its invasiveness. I am waiting to see if this colony will survive the winter and spread during the warm seasons.
A side-by-side comparison displays how catnip can be easily confused for lemon balm: look for the fine hairs on catnip leaves and the golden hue on lemon balm leaves. Here’s an article enumerating the differences.
Lemon Balm closeup
Catnip closeup
In-ground catnip behind a grow bag of lemon balm
Regardless of the smell, my cats still react the same way to the skunk-odor catnip and the mint-scented catnip. Here’s Conan going after the mint-scented variety.
It’s not difficult for the cats to distinguish between catnip and lemon balm. The cats have a habit of destroying catnip plants whenever they are in reach, so identification is easy usually in the aftermath. As a result, I have elevated the potted catnip plants and take cuttings to hand out to the catkids.
A takeaway from all this is to label your seeds and cuttings!
I was always an ornamental plant grower and landscaper for all the time I’ve tended gardens in Texas. Somehow I’ve always felt that growing vegetables in the harsh climate required too much effort and resources for a family of two trying to hold down full time jobs and paying the bills. Any vegetable that I’ve dropped into the ground usually involved some kind of plant that could endure the grueling Texas heat. This usually meant peppers of all varieties, a potato or two, and maybe something from the onion/garlic family. I know tomatoes are said to do well in our summers, but I don’t like eating tomatoes. Of course, when I can manage to irrigate them properly, I’m always growing herbs…I tend to have a lot of success growing warm season herbs such as rosemary, sage, oregano, thyme and basils.
With the state of the world in 2020, I’ve had the opportunity to work from home and sharpen my growing skills. I’m happy to report that mostly everything I’ve grown from seed this year has survived with the attention given them. I have lost very little in terms of new and existing outdoor/landscape plants as well.
With achievement under my belt, I’ve set out to grow some cole crops (vegetables I’ve always wanted to grow and eat) starting the fall/winter season. I anticipate starting in the cooler climate will guarantee me some vegetable harvests by next year, especially growing broccoli, brussel sprouts, cauliflower, and Asian cabbages.
I’ve done my research by this list of resources to help plan with vegetable growing in my zone for this season.
I recently learned of a work perk offered for free through my job. I recently signed up for online courses with Start Organic. I’ve been attending webinars hosted by the Start Organic team to learn about urban organic vegetable gardening. If your workplace/company offers this educational course to its employees, it’s well worth participating in if you’re interested in learning to start organic gardening.
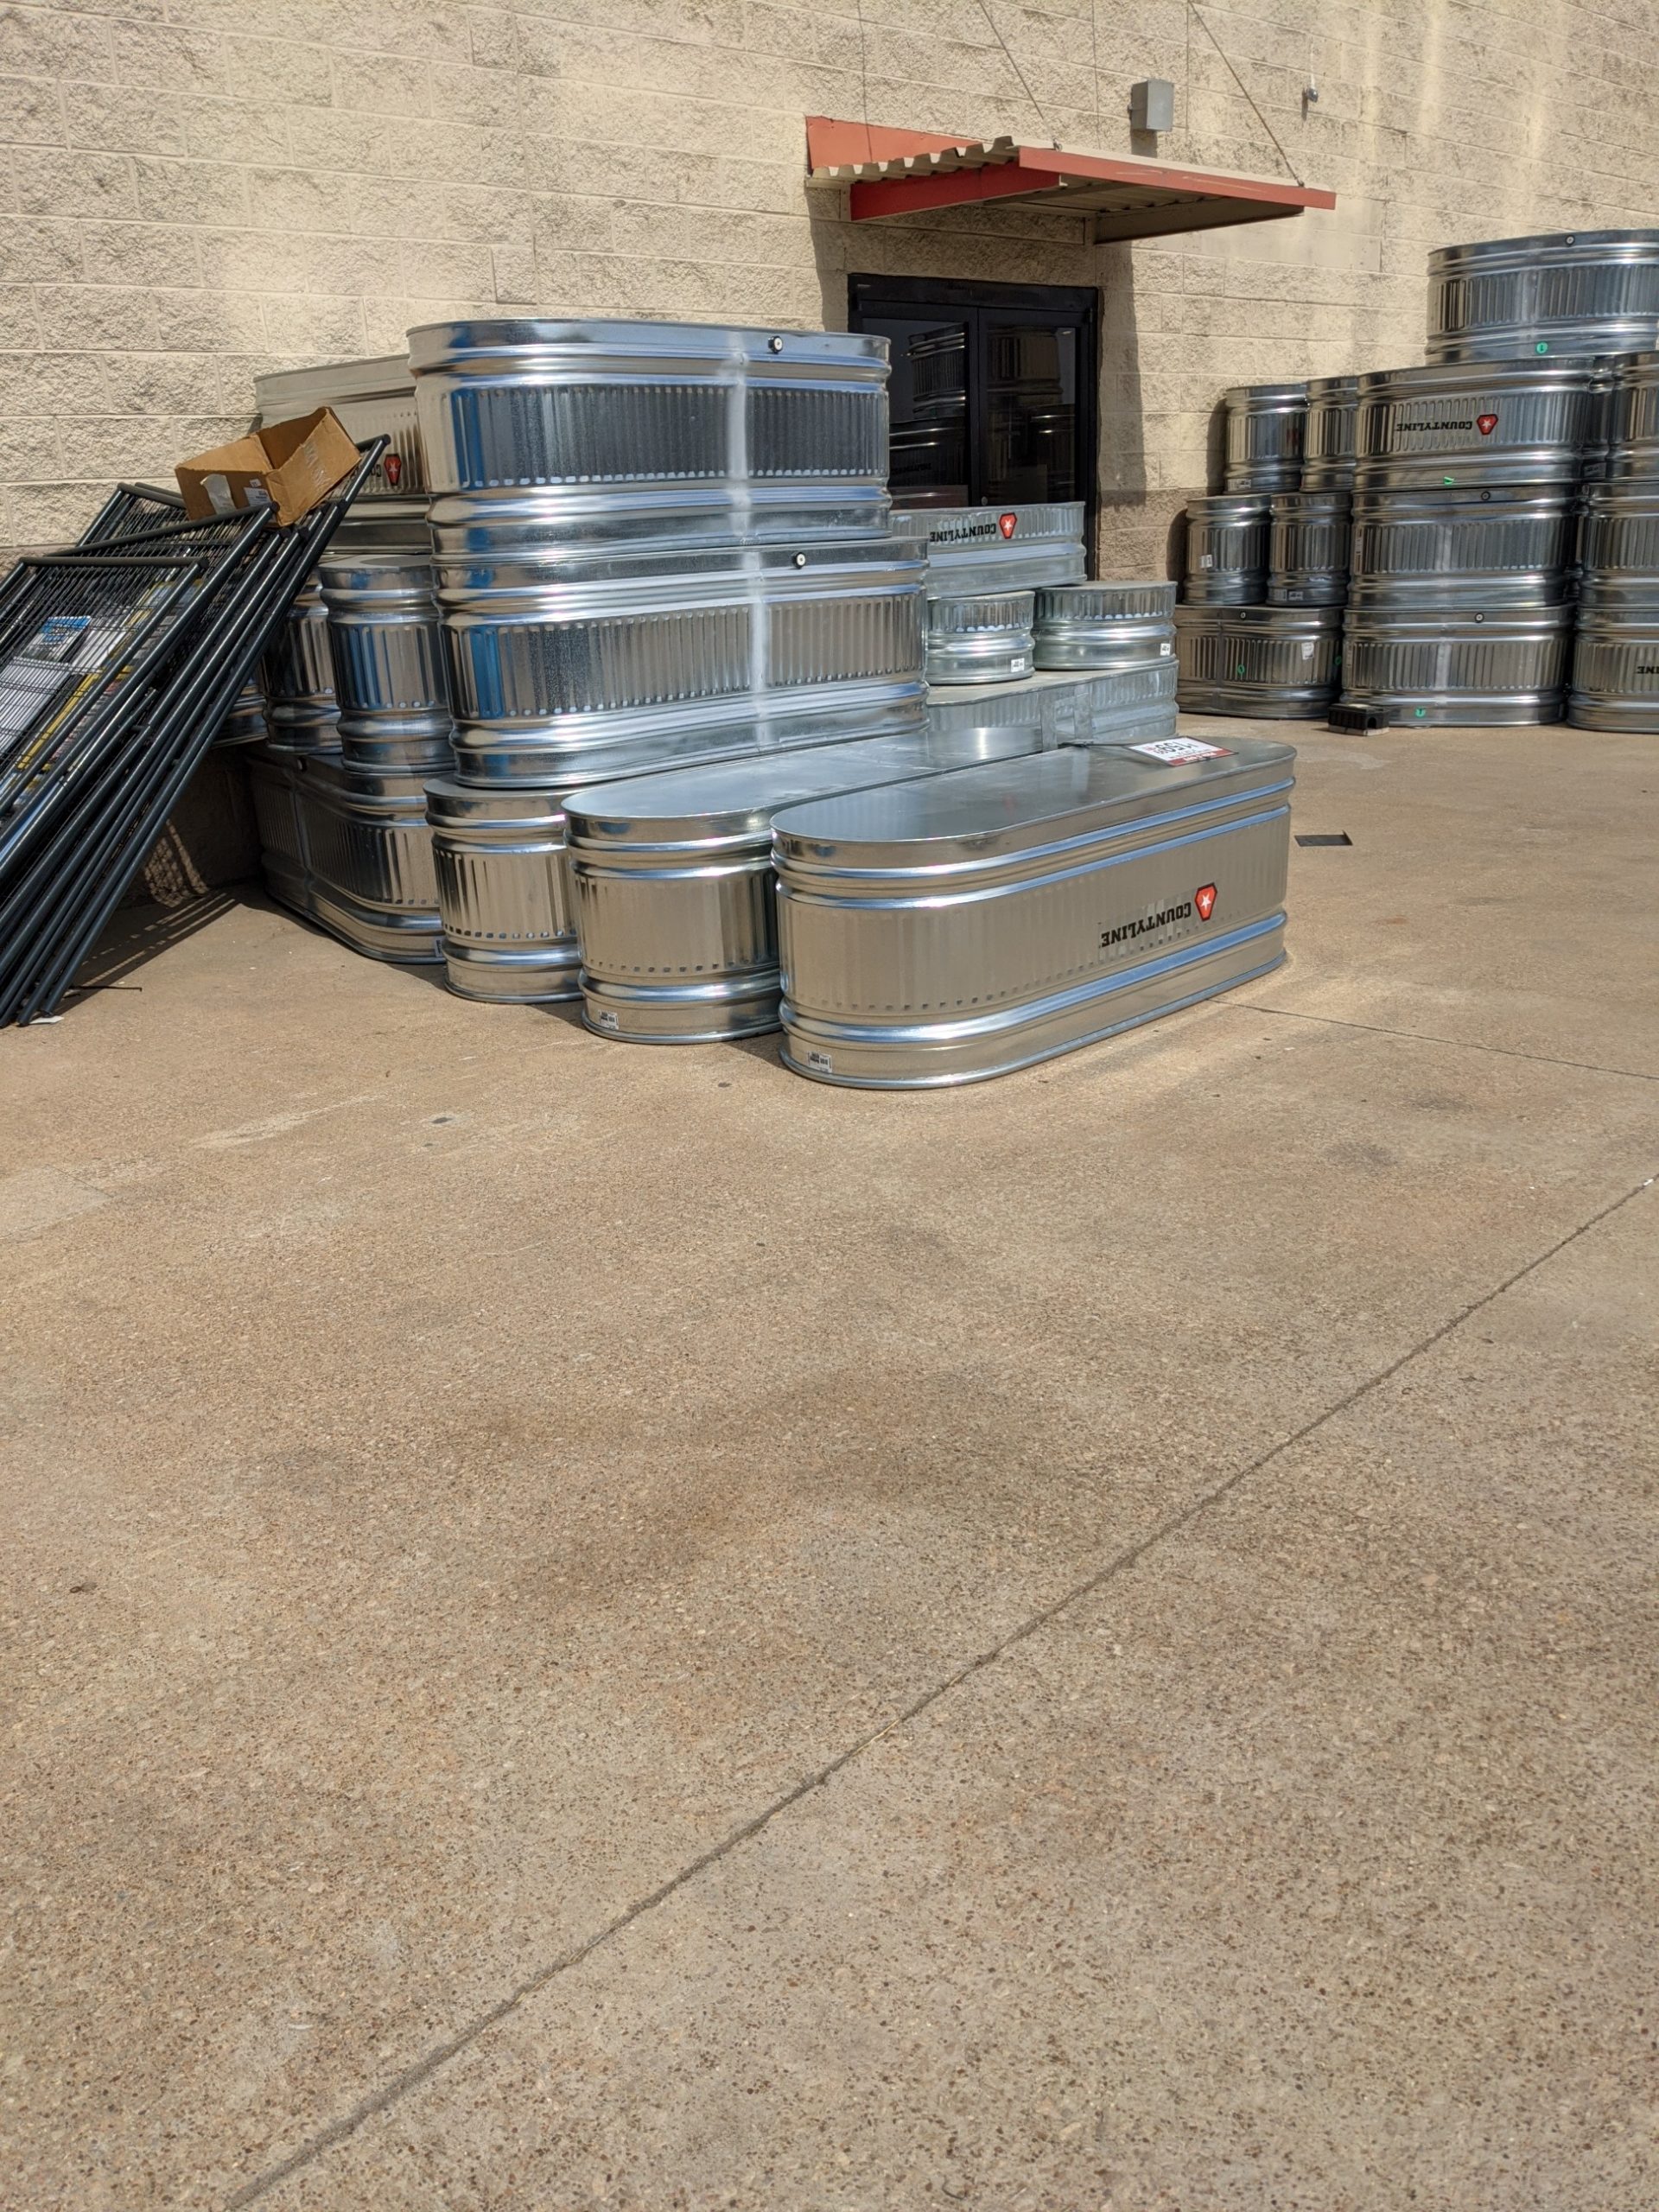
These took a couple weeks to build and assemble. I purchased the stock tanks on sale at Tractor Supply Company. I originally wanted to go with the 2×4 tanks, but the size and sale price of 2×6 tanks made them too attractive to pass up. Of course, their size meant we had to rent a truck to haul them home. Luckily, we still had other yard projects that required the rent-a-truck to transport supplies.
Tractor Supply Co offers CountyLine branded stock tanks
Due to their size, I knew these tanks had to be mobile. Especially when filled with soil and water, they’d be a challenge to move around on my patio. I purchased 3/8 carriage bolts, heavy duty casters off Amazon and some waterproof stain. The stain was to seal the lumber on which the casters would be mounted. Finally I had to wait a week to get in an order of 5/16 galvanized threaded bolts, washers and hex nuts…because none of the local home improvement shops had sufficient quantities in stock to buy.
While I waited for the hardware to arrive, I drilled drainage holes in the bottom of the tanks. This required some titanium bits and some wrist strength, as drilling into steel can cause the drill to torque. I then marked out the area where the casters would be mounted. I was banking that 2 pieces of lumber would be enough to support these tanks upright.
I then secured the lumber to stock tanks using 3/8 carriage bolts, washers and hex nuts. Once the 5/16 hardware arrived, I was then able to drill and secure the casters to the lumber.
I then sealed the lumber and the inside of the stock tanks with silicone to prevent water seeping into or leaking into wood. It’s important to have the lumber last as long as possible since I depend on these supports to move these tanks around the yard and patio.
Once everything was drilled and sealed into place, it was time to get the tanks onto the casters and filled.
I lined the bottom with leftover landscape fabric then threw in 2 bags of lawn trimmings and cuttings. Afterwards, I layered in organic raised bed soil, compost, vermiculite, peat moss and perlite, adjusting as needed to get proper drainage. It’s quite an upper body workout to till and turn the soil media,
Fabric liner
Lawn trimmings and organic raised bed soil for layering on top
I had quite a number of dill, kale, lettuce, broccoli, brussel sprouts and cauliflower starts, along with some lettuce seedlings I began indoors. In between the rows, I also stuck some garlic cloves, which took no time to sprout. Unfortunately I have way too many plants to fit in one of these tanks, if I stuck to the square-foot gardening method.
Plant purchases
Brussel sprouts and Broccoli starts from Burpee
More crops to plant
Seeding square to space plants out
Plant Layout
Planted!
With one bed planted, I realized my new starts needed a little more sun. So I moved them to the east side of the pergola. Even with casters, the tank was almost too heavy to move on my own! I’d like to get more of these stock tanks, but size and mobility are definitely going to be deciding factors…likely I’d go with the smaller tanks next time.
I need help figuring out what milkweed is growing in my beds. I started milkweed in 2018 which found its way into the backyard. I also bought and transplanted other specimens as well.
The only ID I’m certain of is the variegated butterfly weed which overwintered in the garage. The Home Depot version lists as Butterfly Kisses, but it didn’t stop me from picking up another variegated milkweed from North Haven Gardens, Monarch’s Promise. Maybe they’re one and the same.
Previous year potted milkweed2020 New planting of Monarch’s Promise
Anyway, the following milkweed springing up from my beds are defying attempts to identify them properly.
Mystery Milkweed #1 in Long Bed (a)
Mystery Milkweed #1 in Long Bed (b)
Mystery Milkweed #1 in Long Bed
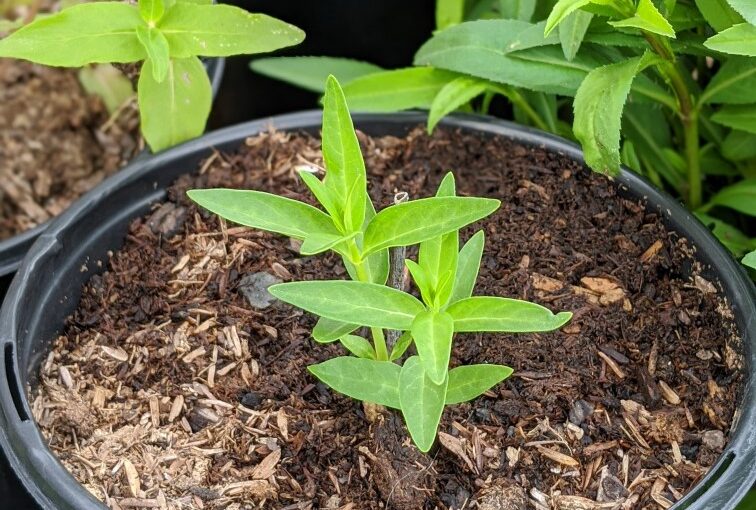
Mystery Milkweed #2 in Rogue Bed (a)
Mystery Milkweed #2 in Rogue Bed (b)
Mystery Milkweed #2 in Rogue Bed
True to the Rogue bed’s name, milkweed #2 appears to have reseeded rogue, with over a half dozen volunteer starts. The young leaves start out green which mature to the gray-green color seen in the pics.
Then there is the one potted milkweed that I can’t recall what it is. But I’m glad it emerged, suggesting that garage overwintering suits these plants. Now if I can only remember what it is. Hint: I bought 3 packets of Botanical Interests milkweed seed — Common (A. syriaca), Showy (A. speciosa) and Irresistible Blend (A. incarnata). If I remember right, one of the 3 proved difficult to germinate and didn’t take to water sowing at all.
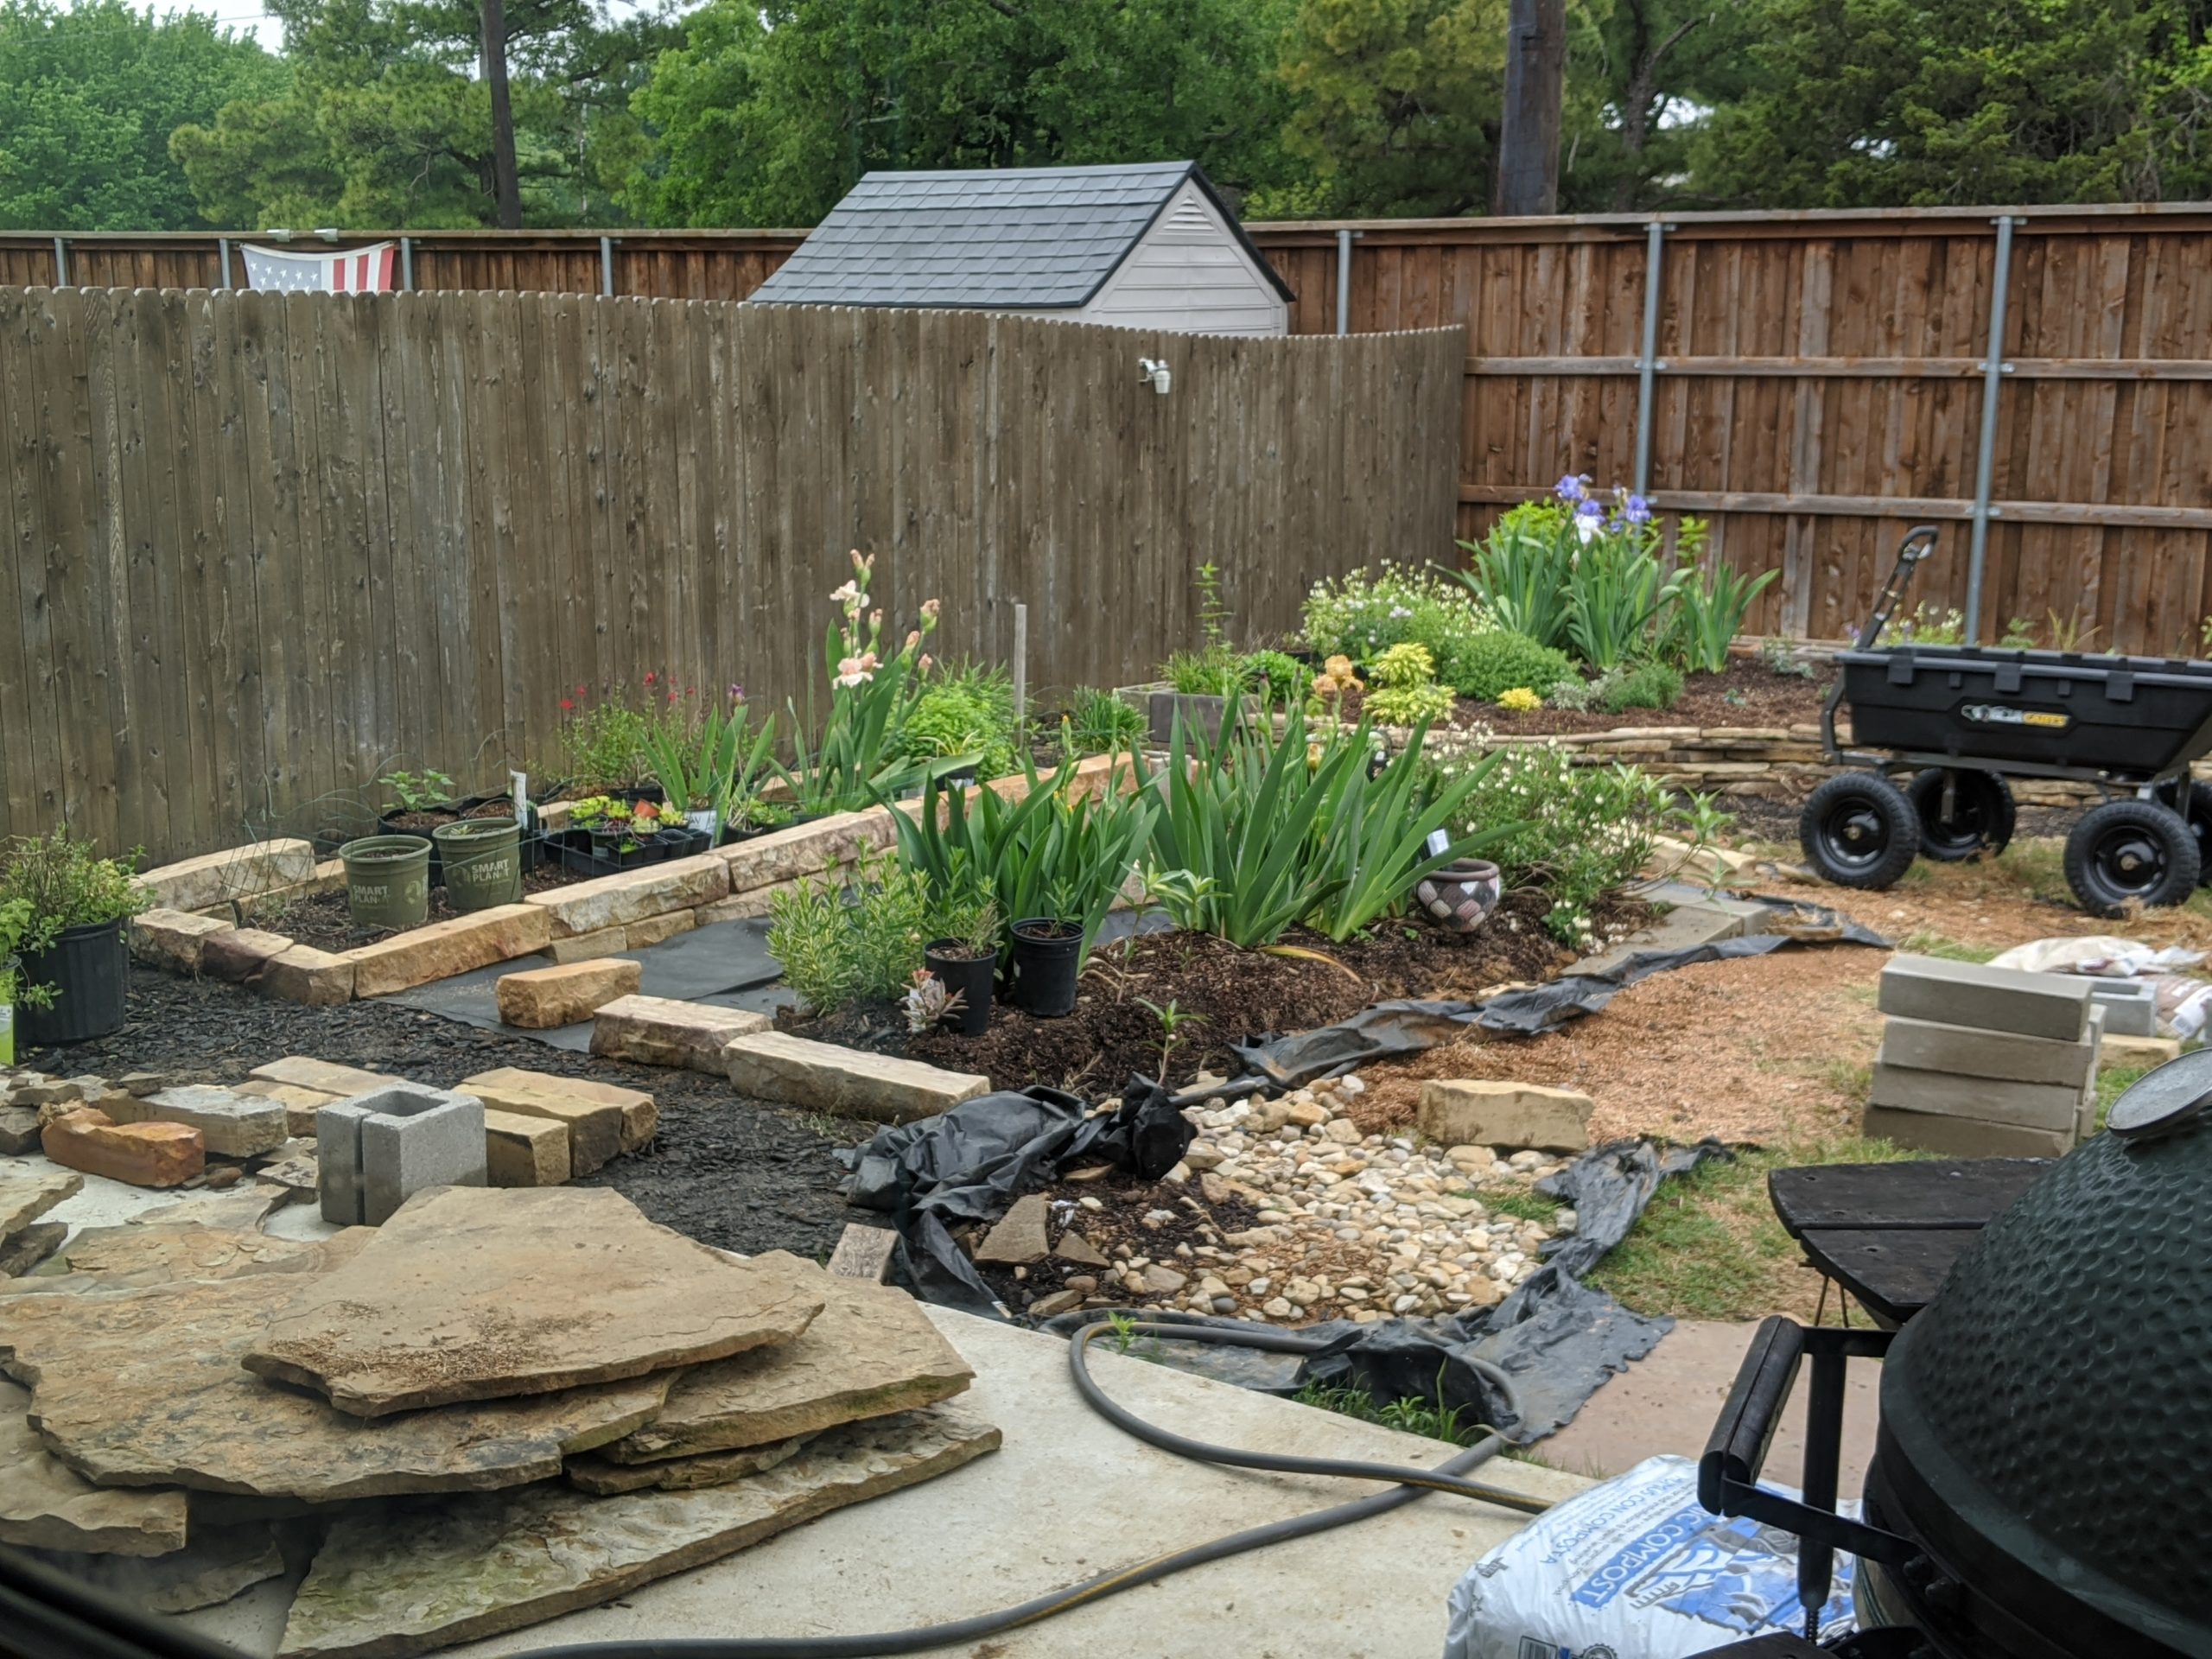
I indicated in my IG feed that I completed redoing the stone border on the HA bed (dubbed for the heart attack that my man incurred attempting to mulch it 2 years ago). I then switched over to redoing the long bed borders and that’s taking quite awhile longer. Digging up clay and re-leveling the entire bed means that we’re adding at least another foot of height on the existing bed. The beds are nearing completion but it is back-wearing work. The sprinkler system redo next to the fence line is slowing down progress.
HA bed with finished border
Before
Before
During
During
During
Almost there!
Almost there!
Almost there! Long and Rogue Beds
To help out with the stone and dirt hauling, we purchased and assembled a GorillaCart poly dump cart. It’s quite a monster! We still need more bags of stone, gravel, soil and compost and mulch to get the backyard in a semi-organized state.
GorillaCart poly dump cart — huge!
The man wants another pallet of stone, but our sod removal contractor hasn’t been exactly responsive so I’m not sure that we have new beds to work on this year.