Lighting An Outdoor Tent

Back in October I purchased a Quictent pop-up grow house in preparation of housing my frost-tender plants outdoors, including my first-this-year variegated lemon tree. It took 2 tries to get it right, but in the end I was happy with the results. All I have to say is watch the unpacking video, read the instructions, and watch the video AGAIN so that you don’t encounter problems in setup. I confess that I strayed from the step-by-step order and ended up snapping one of the fiberglass poles, held together by stretchy rope.

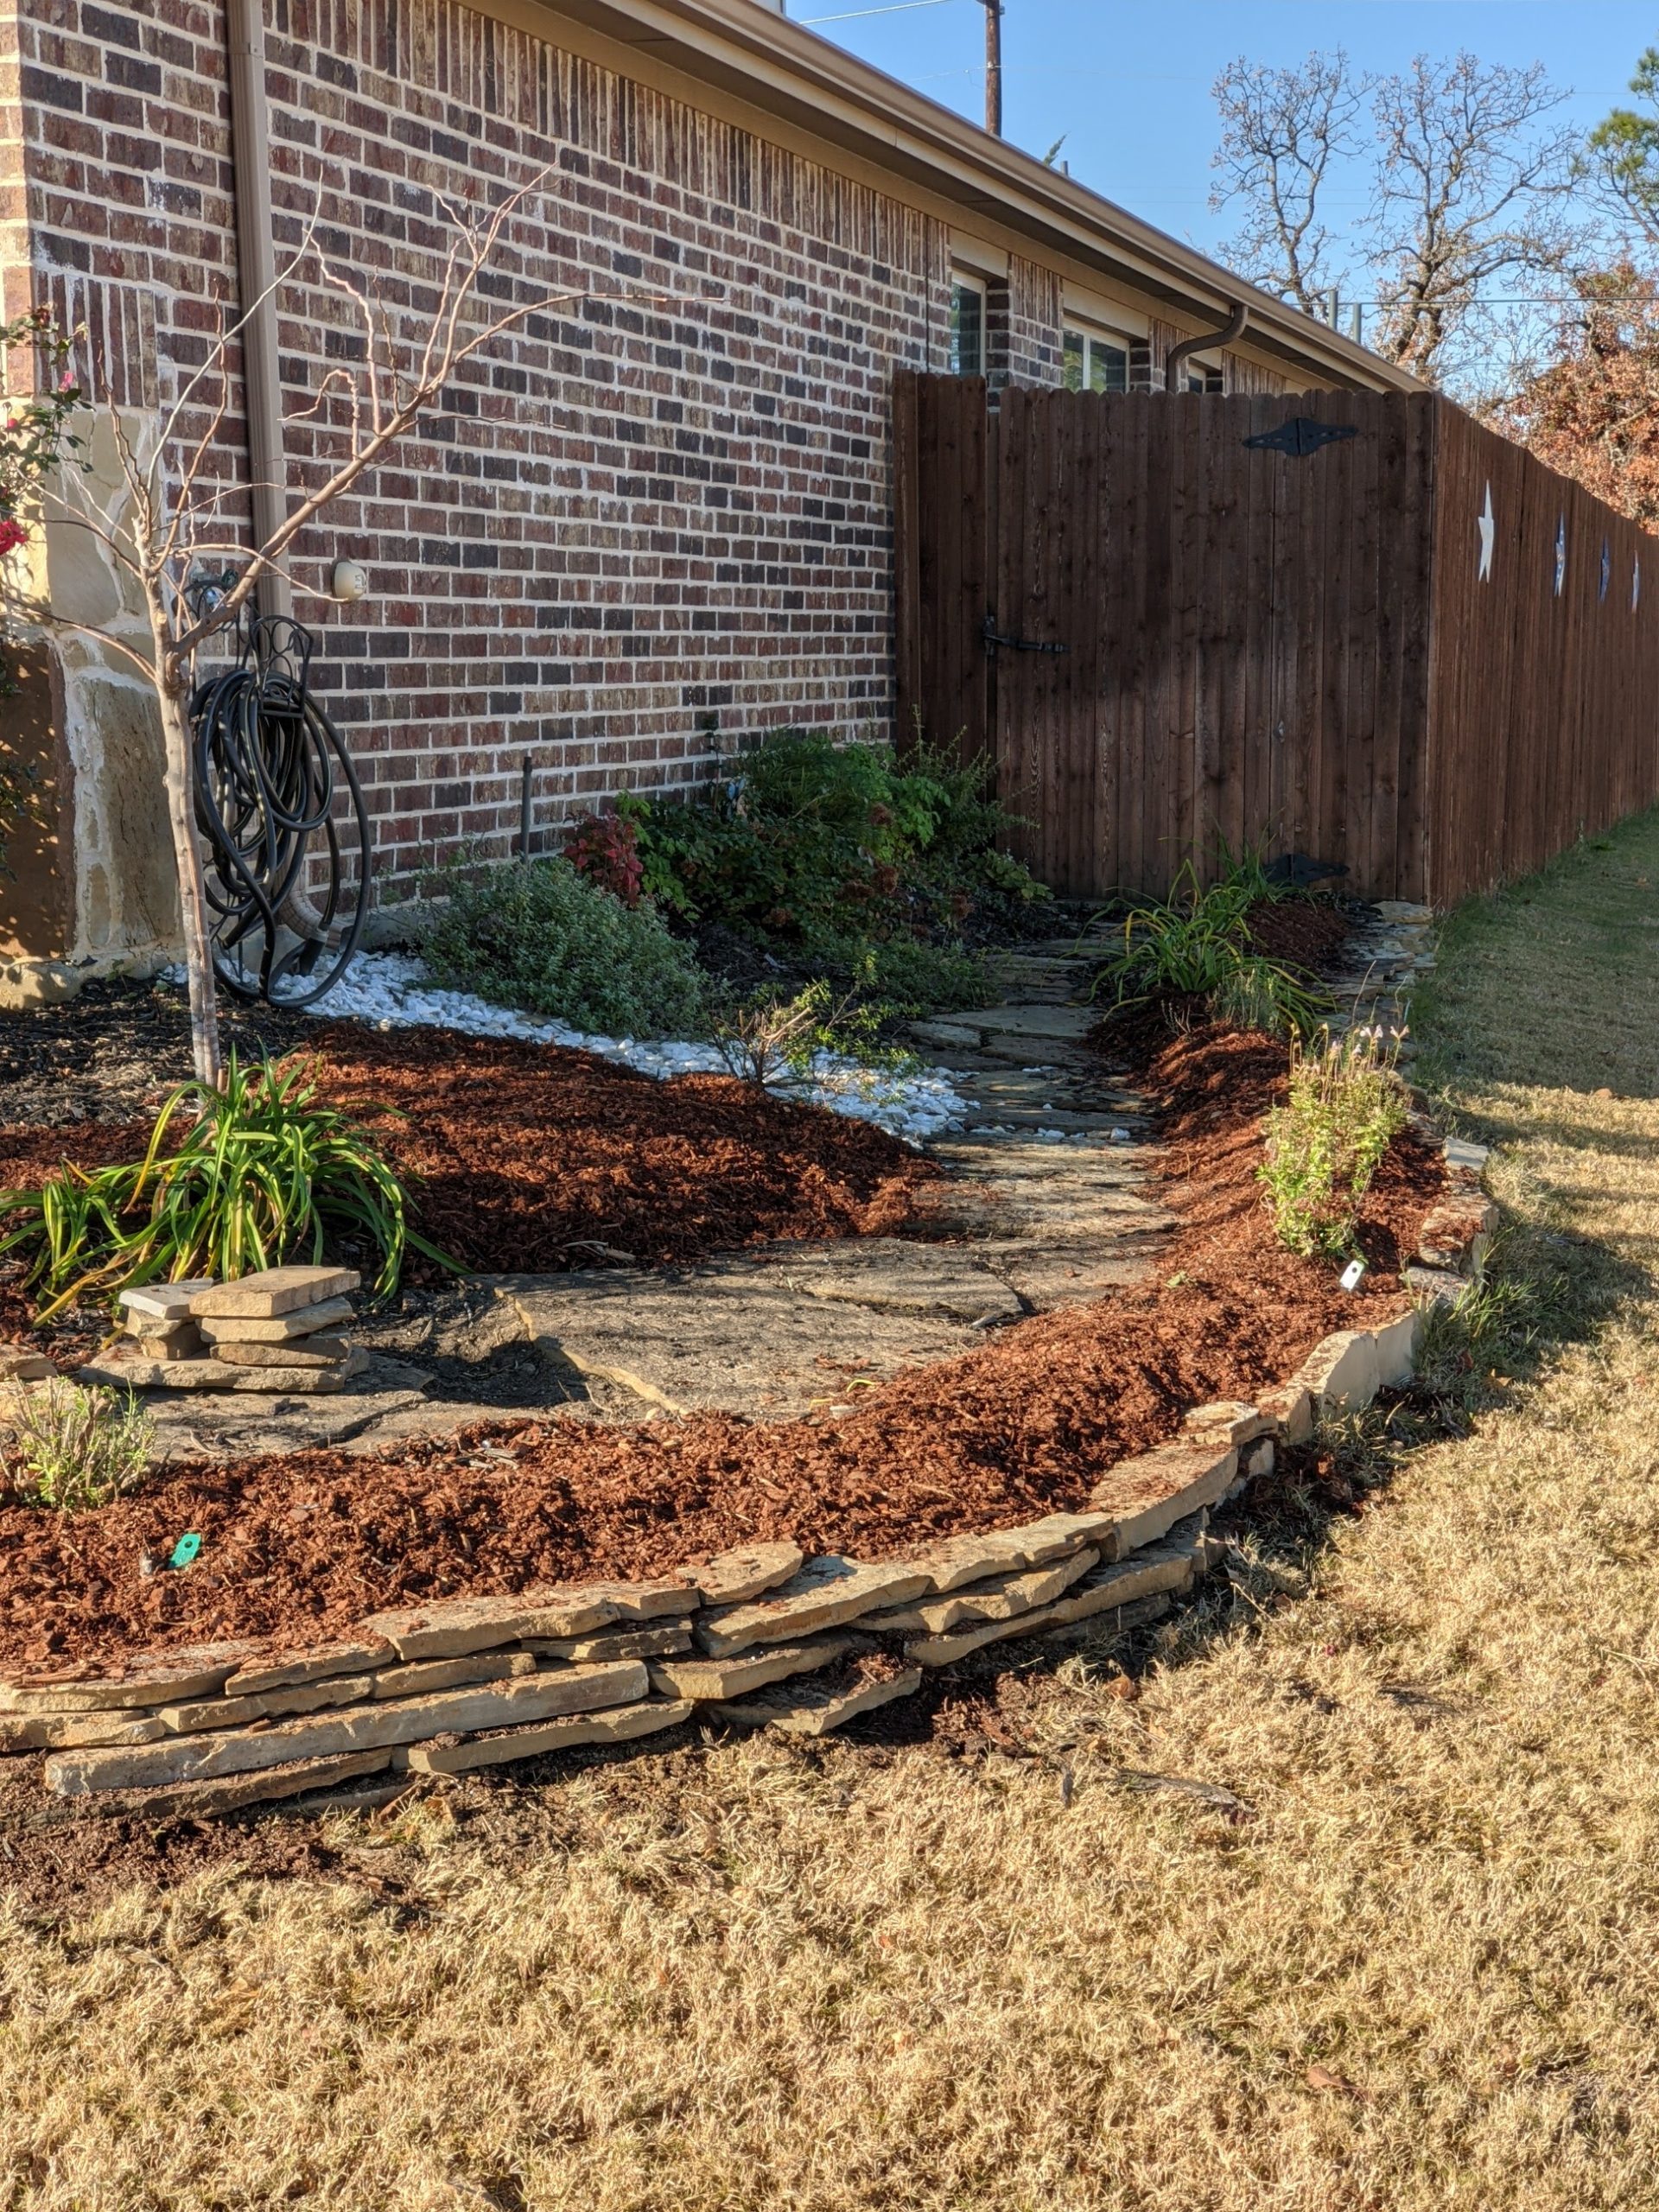
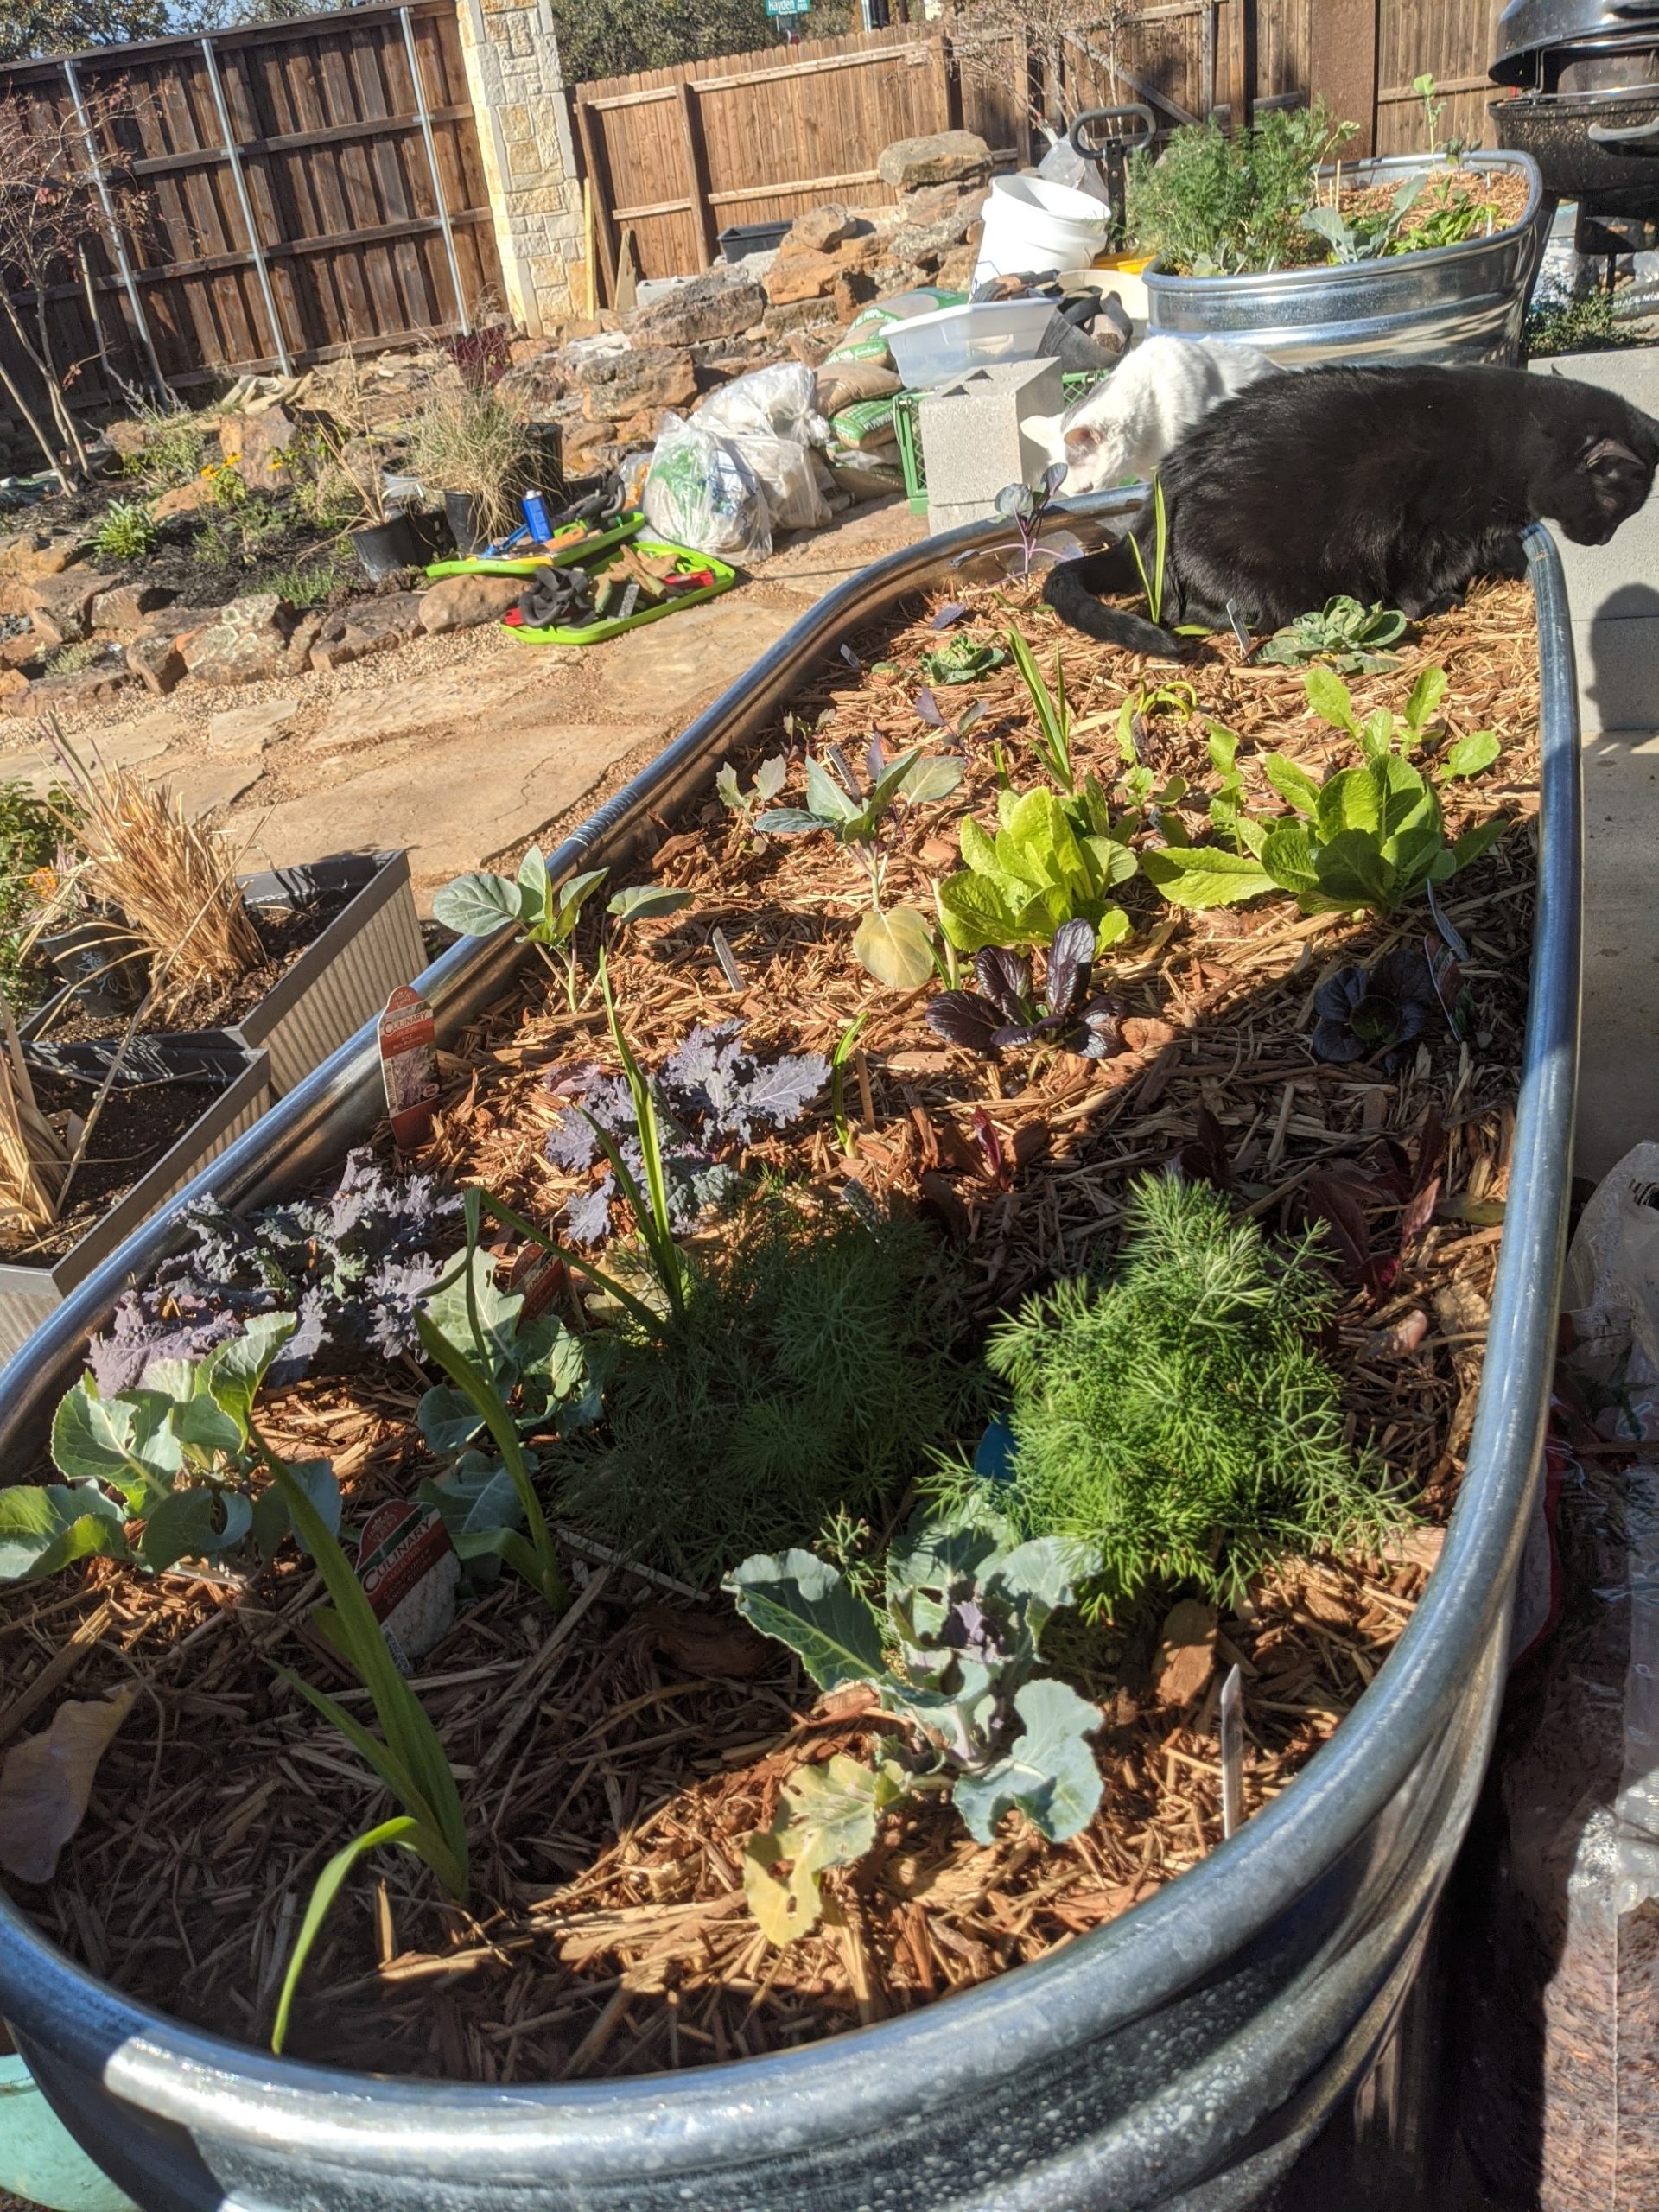
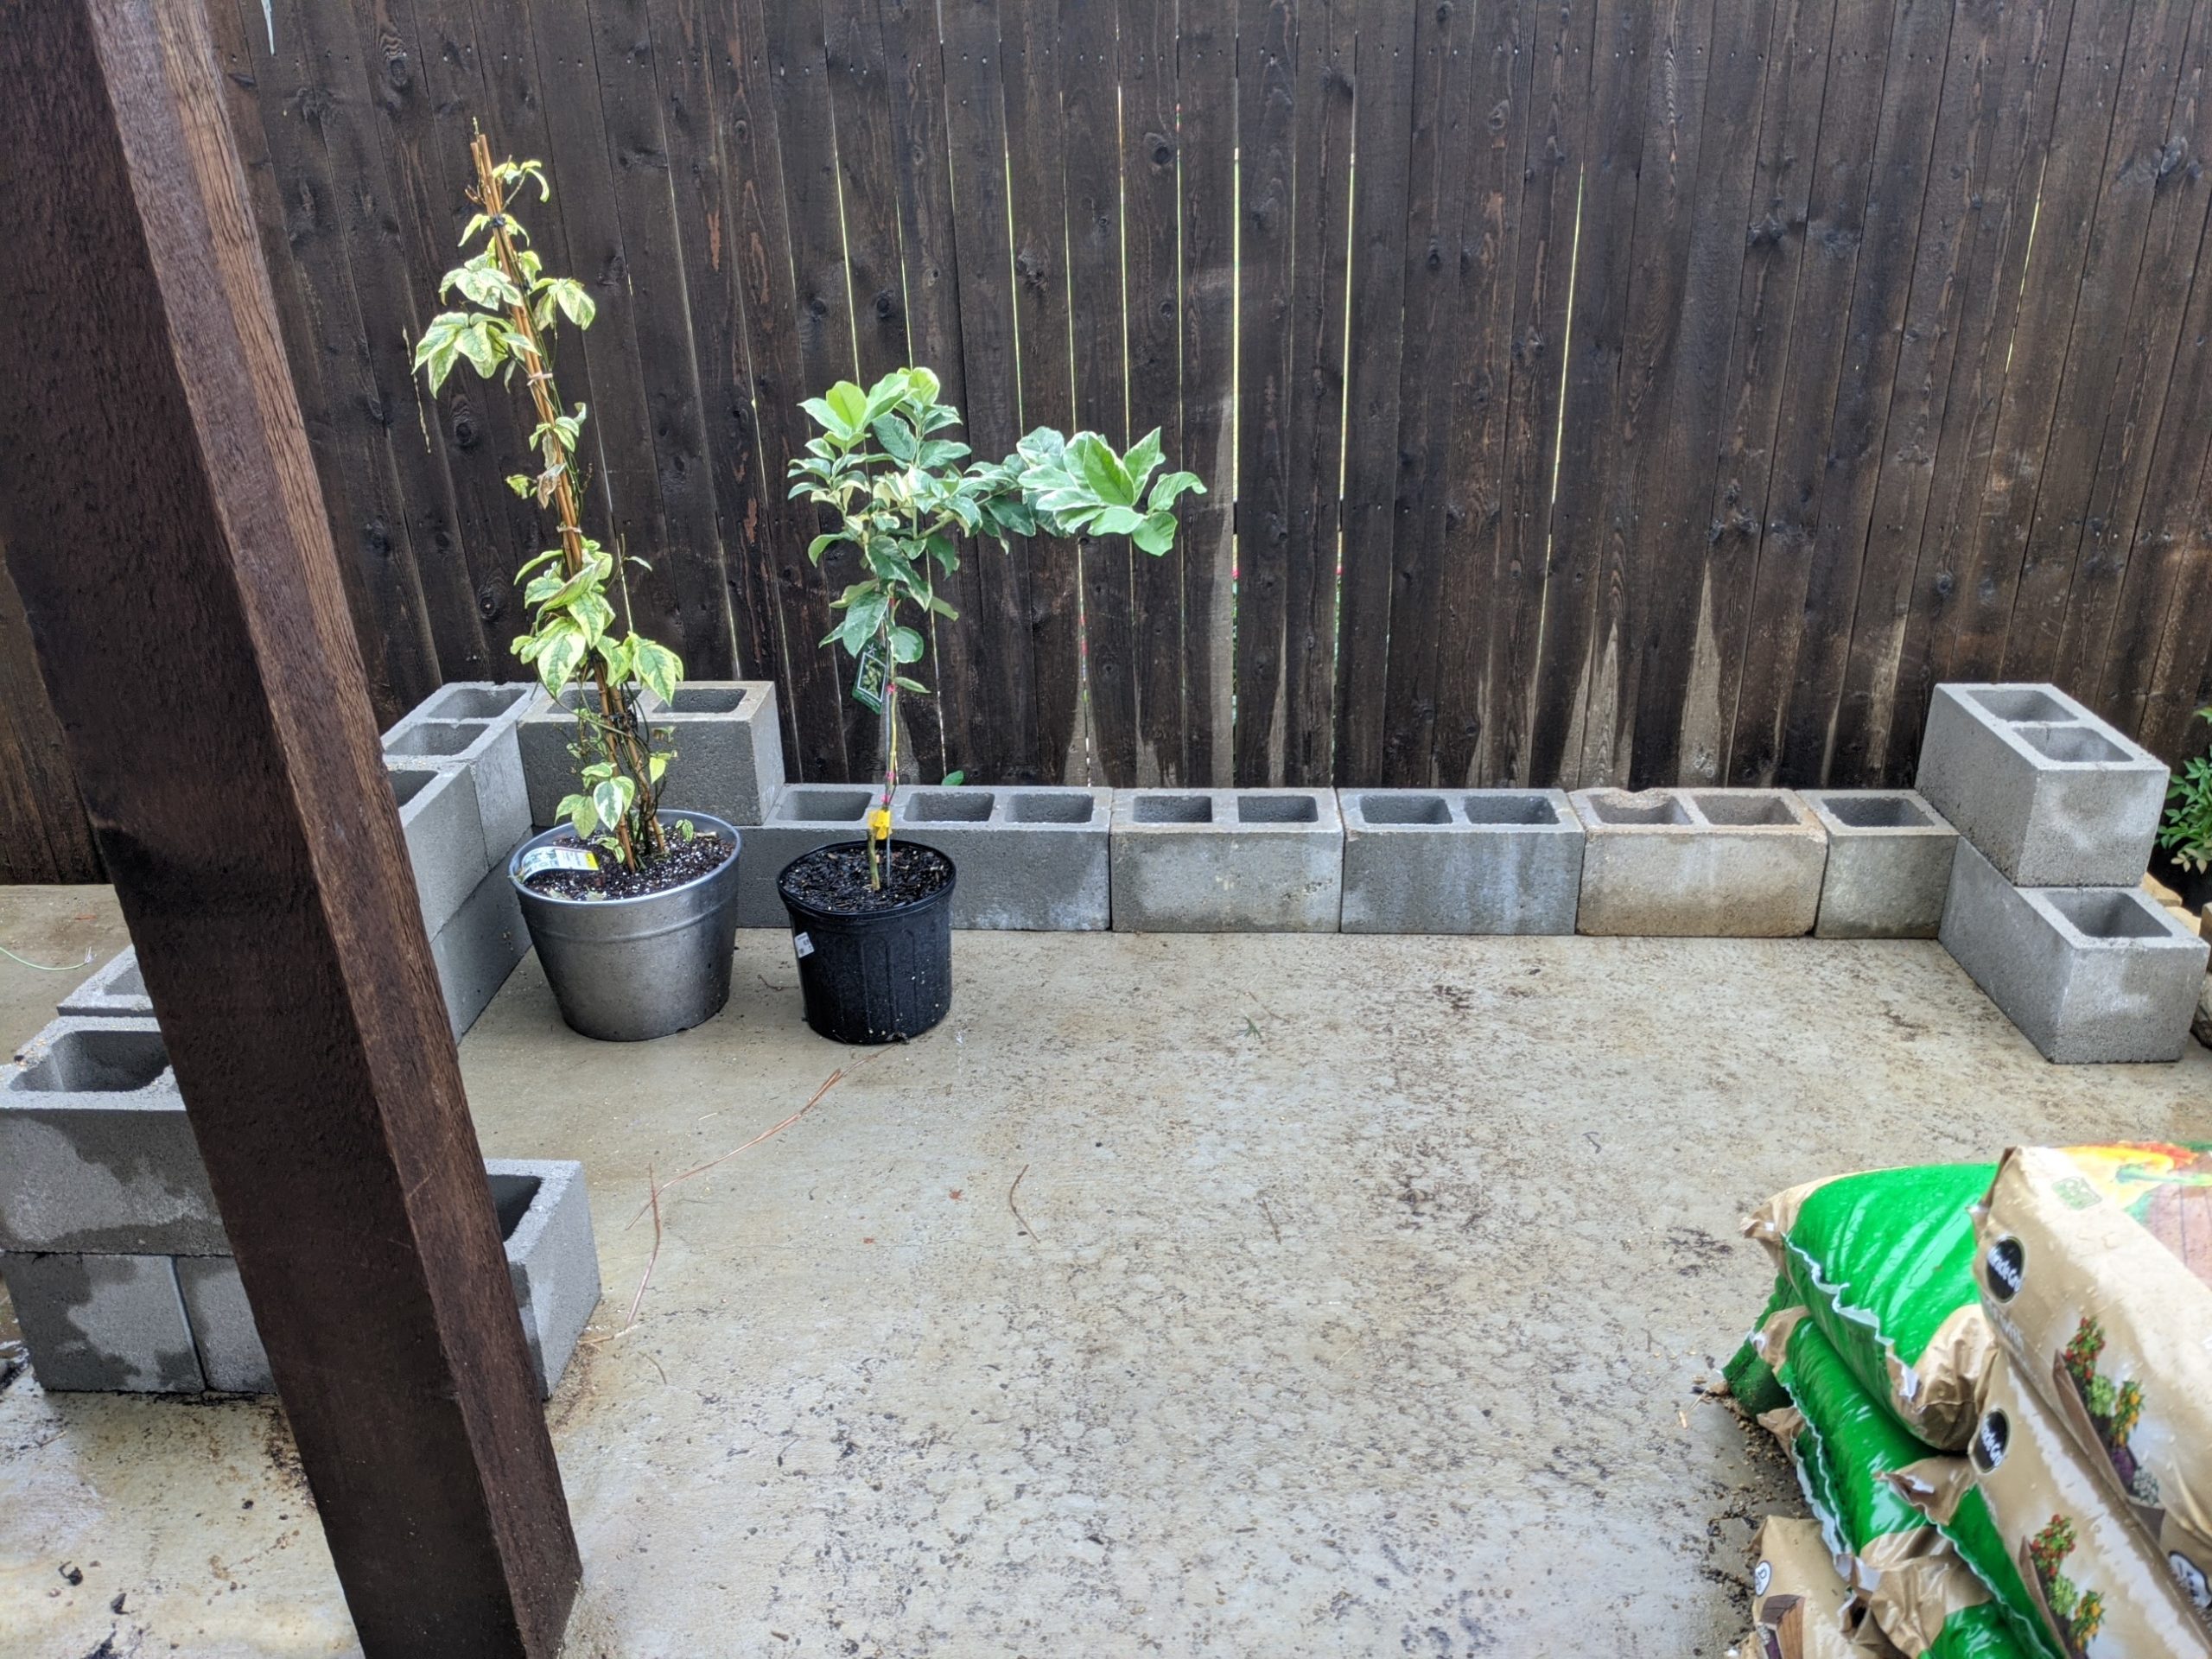
I walled off about 32 square feet on the patio with a cinderblock border about 3 blocks high, or roughly 2 feet tall.

I then unpacked and erected the tent, though I found it helpful on the 2nd try, to have an extra pair of hands setting it up. Strong winds can make setup challenging.

Originally, DH suggested a pass through, so we cut 4 pieces of lumber, stained them, and purchased additional planter blocks to create something of sliding system for a removable wall.

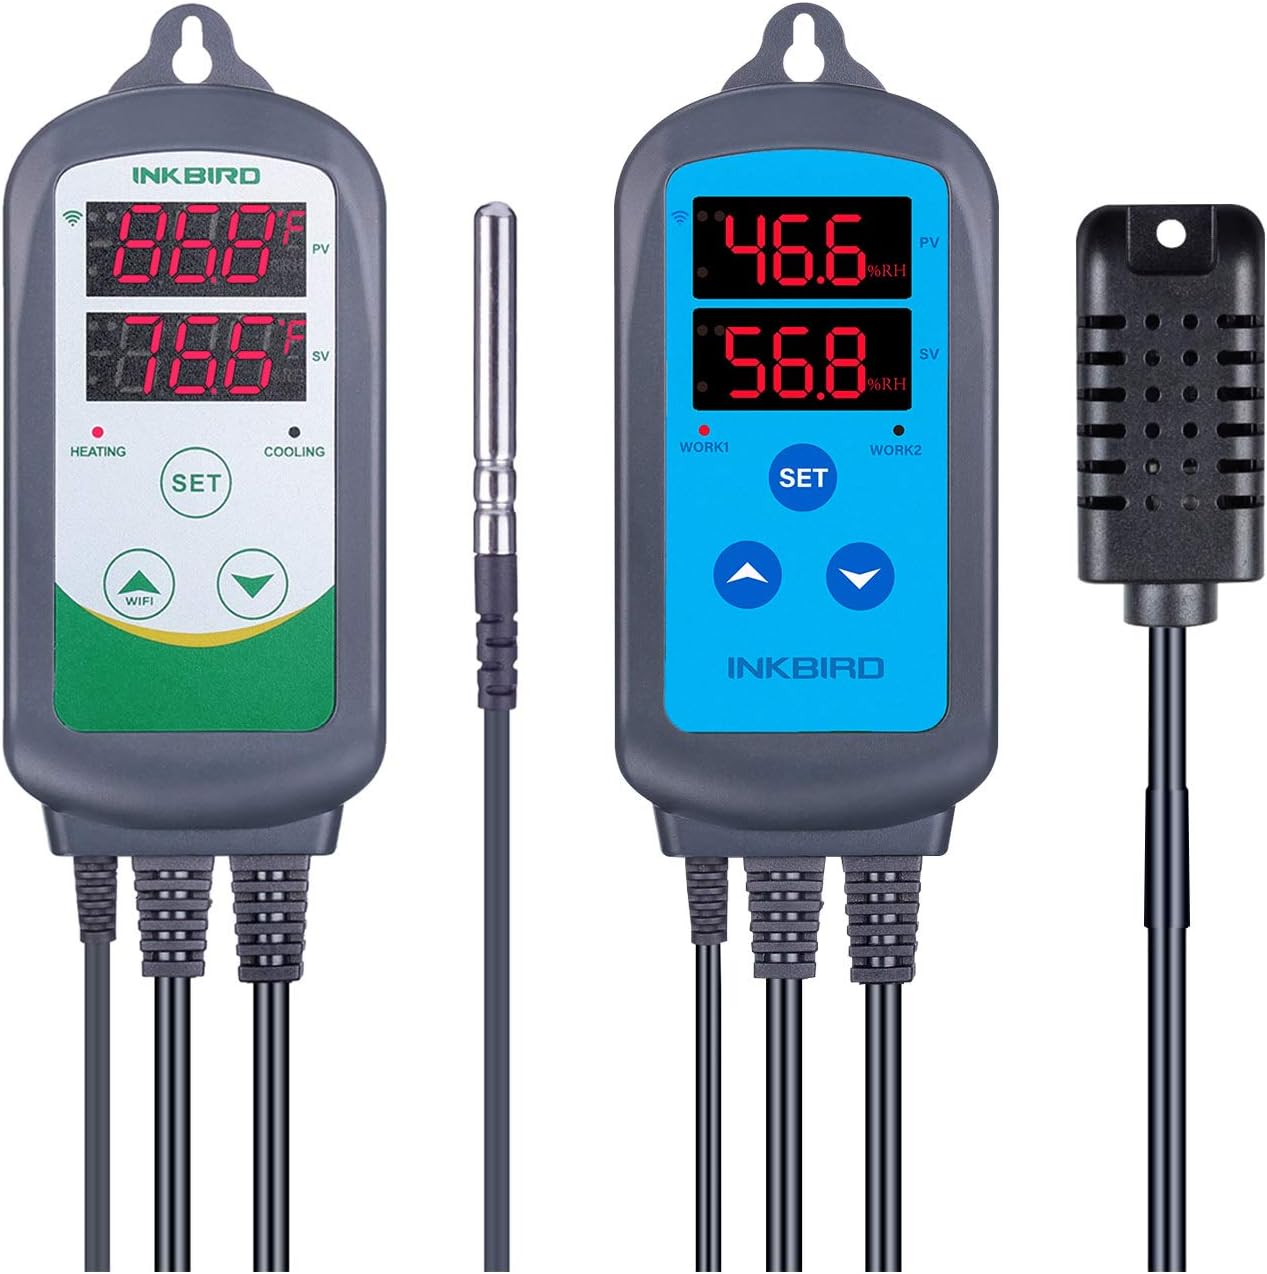
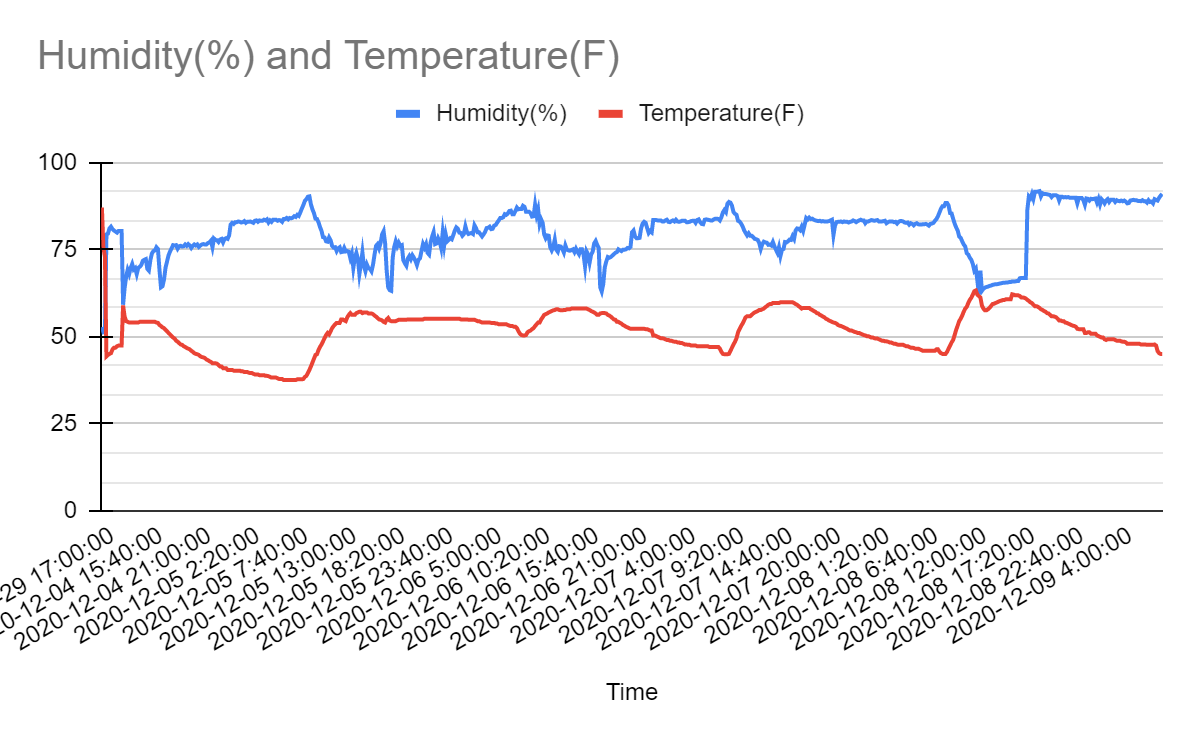
I picked up a wifi enabled mini hygrometer made by Inkbird to monitor night time internal temperatures. I soon learned that on frigid nights, the grow house really didn’t offer much insulation. I would have to find a way to heat the space.

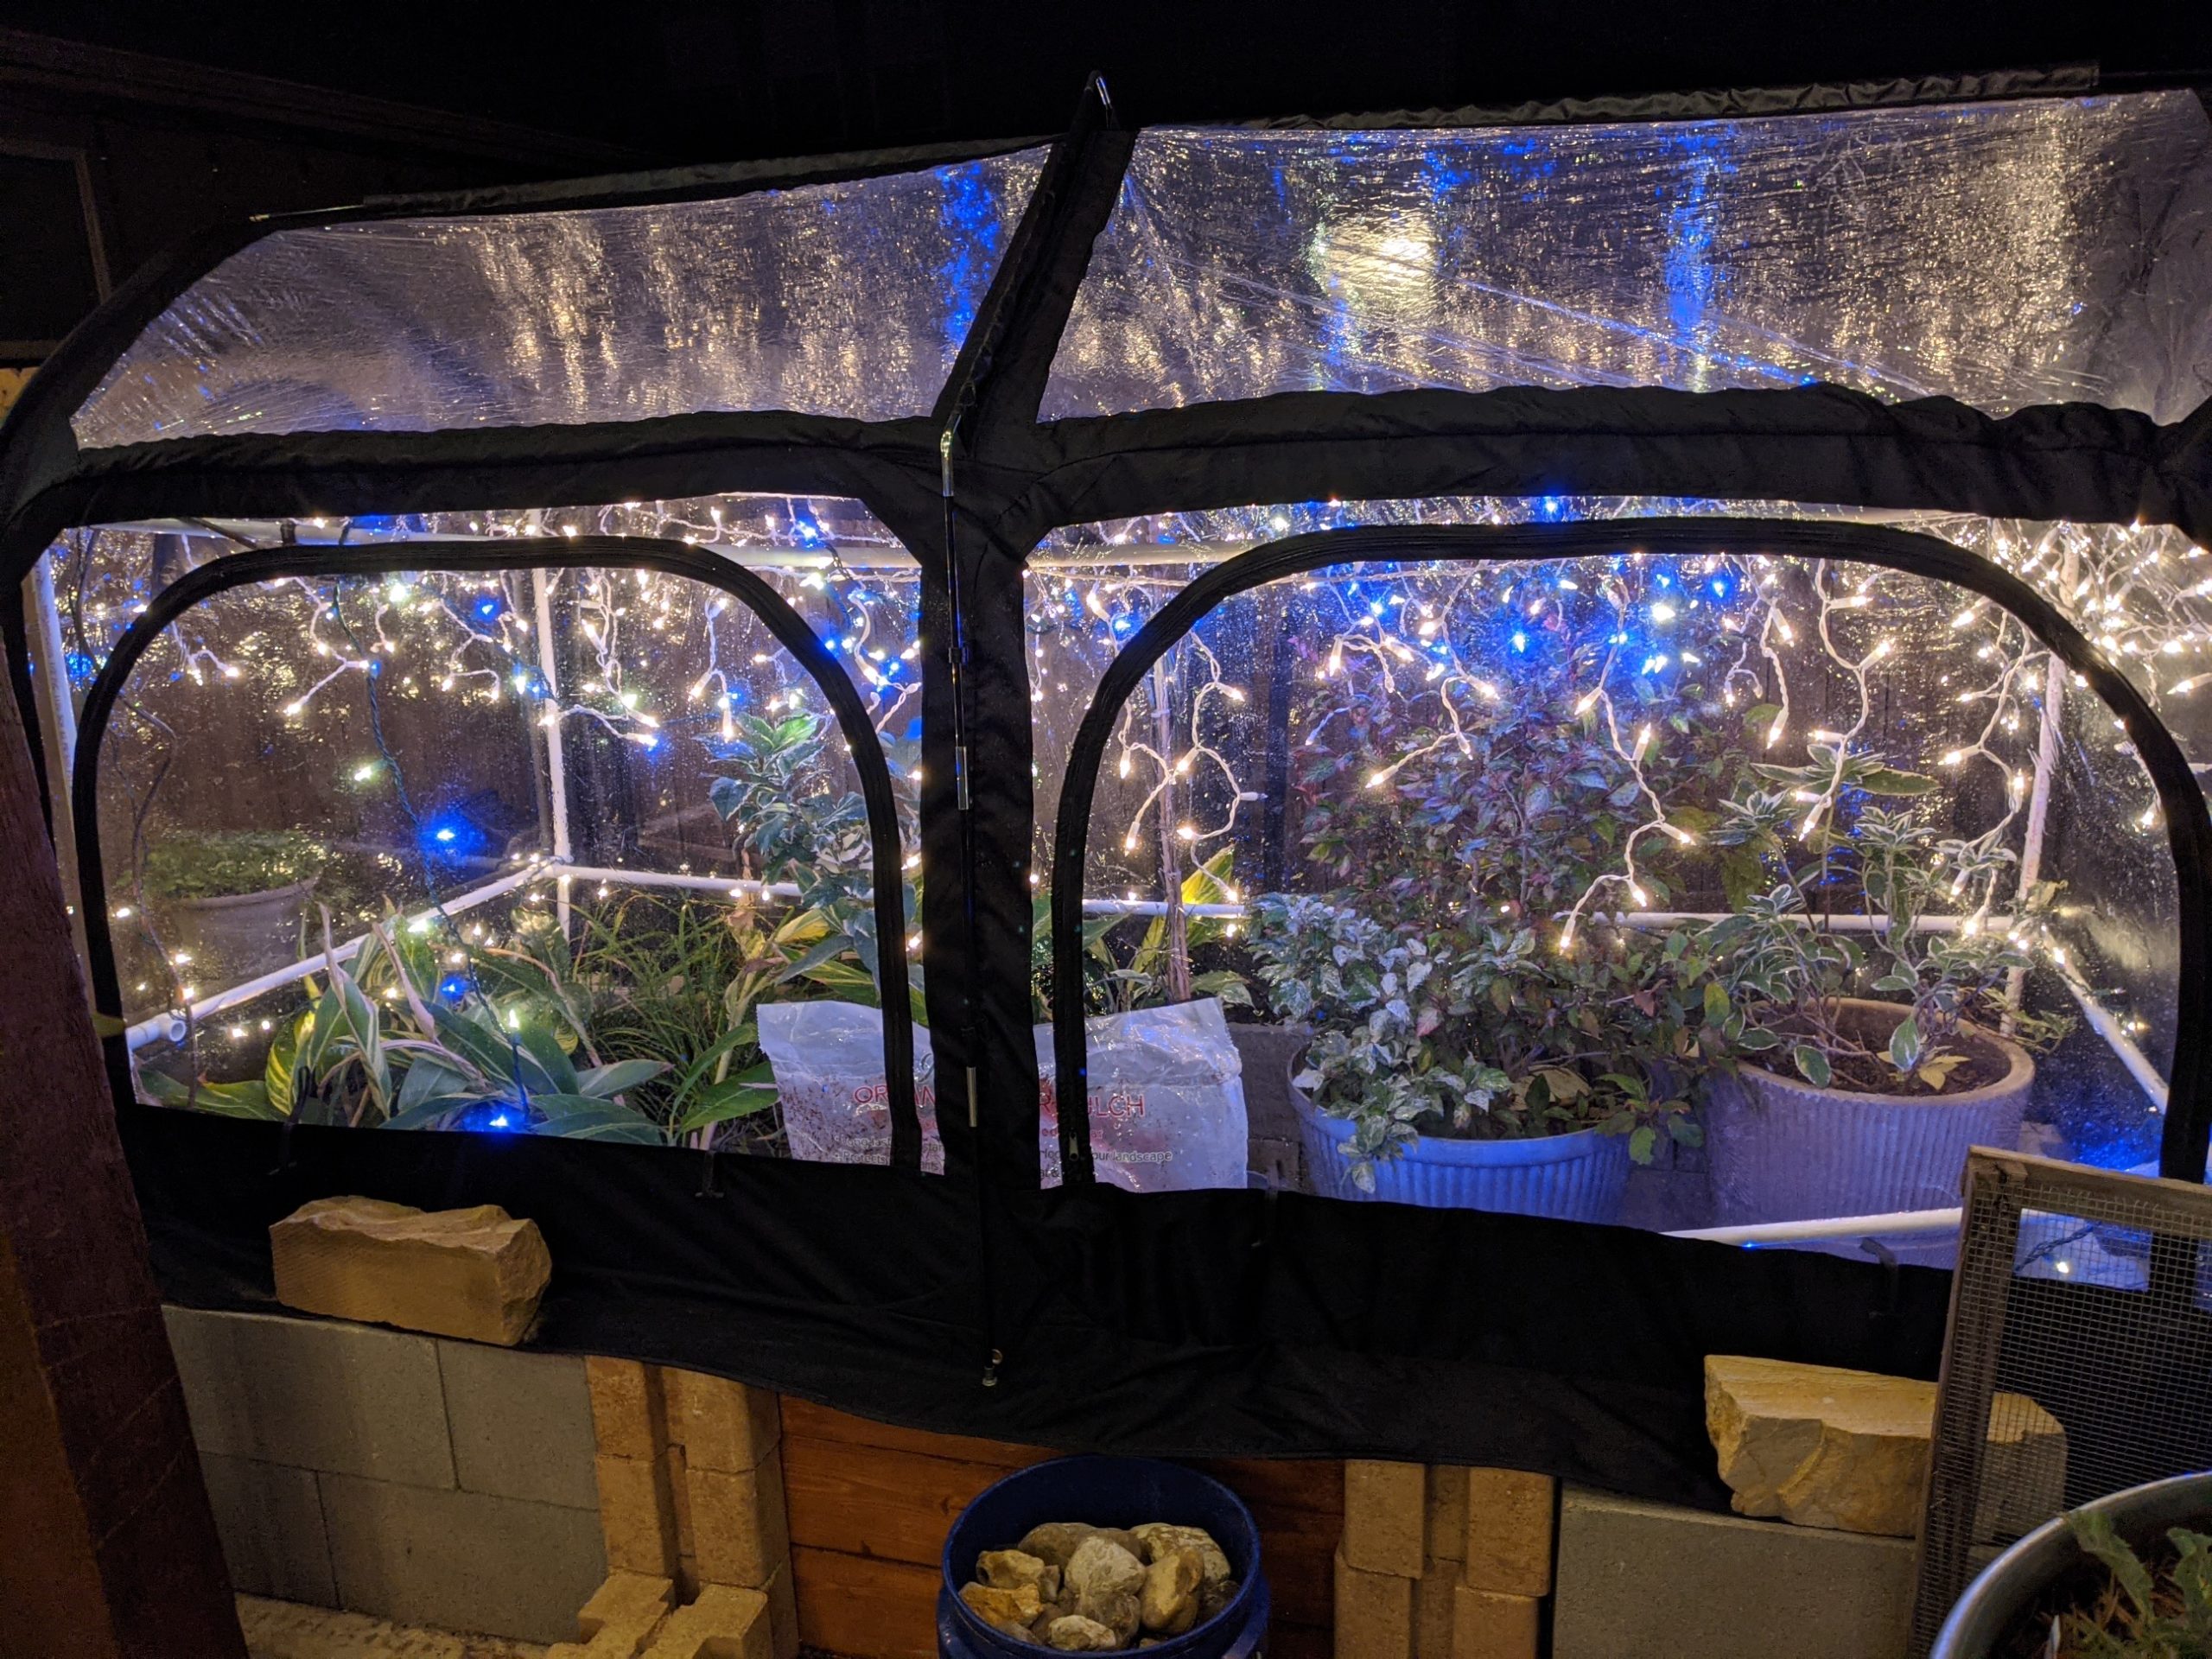
String lights to the rescue. Or not! I dug through closets hunting down old Christmas string lights. Meanwhile, DH put together a light stand constructed from PVC pipes and erected it inside the grow house.

Unfortunately, the mini string lights didn’t produce enough heat to impact overnight temperatures inside the grow house. But it looked pretty enough!

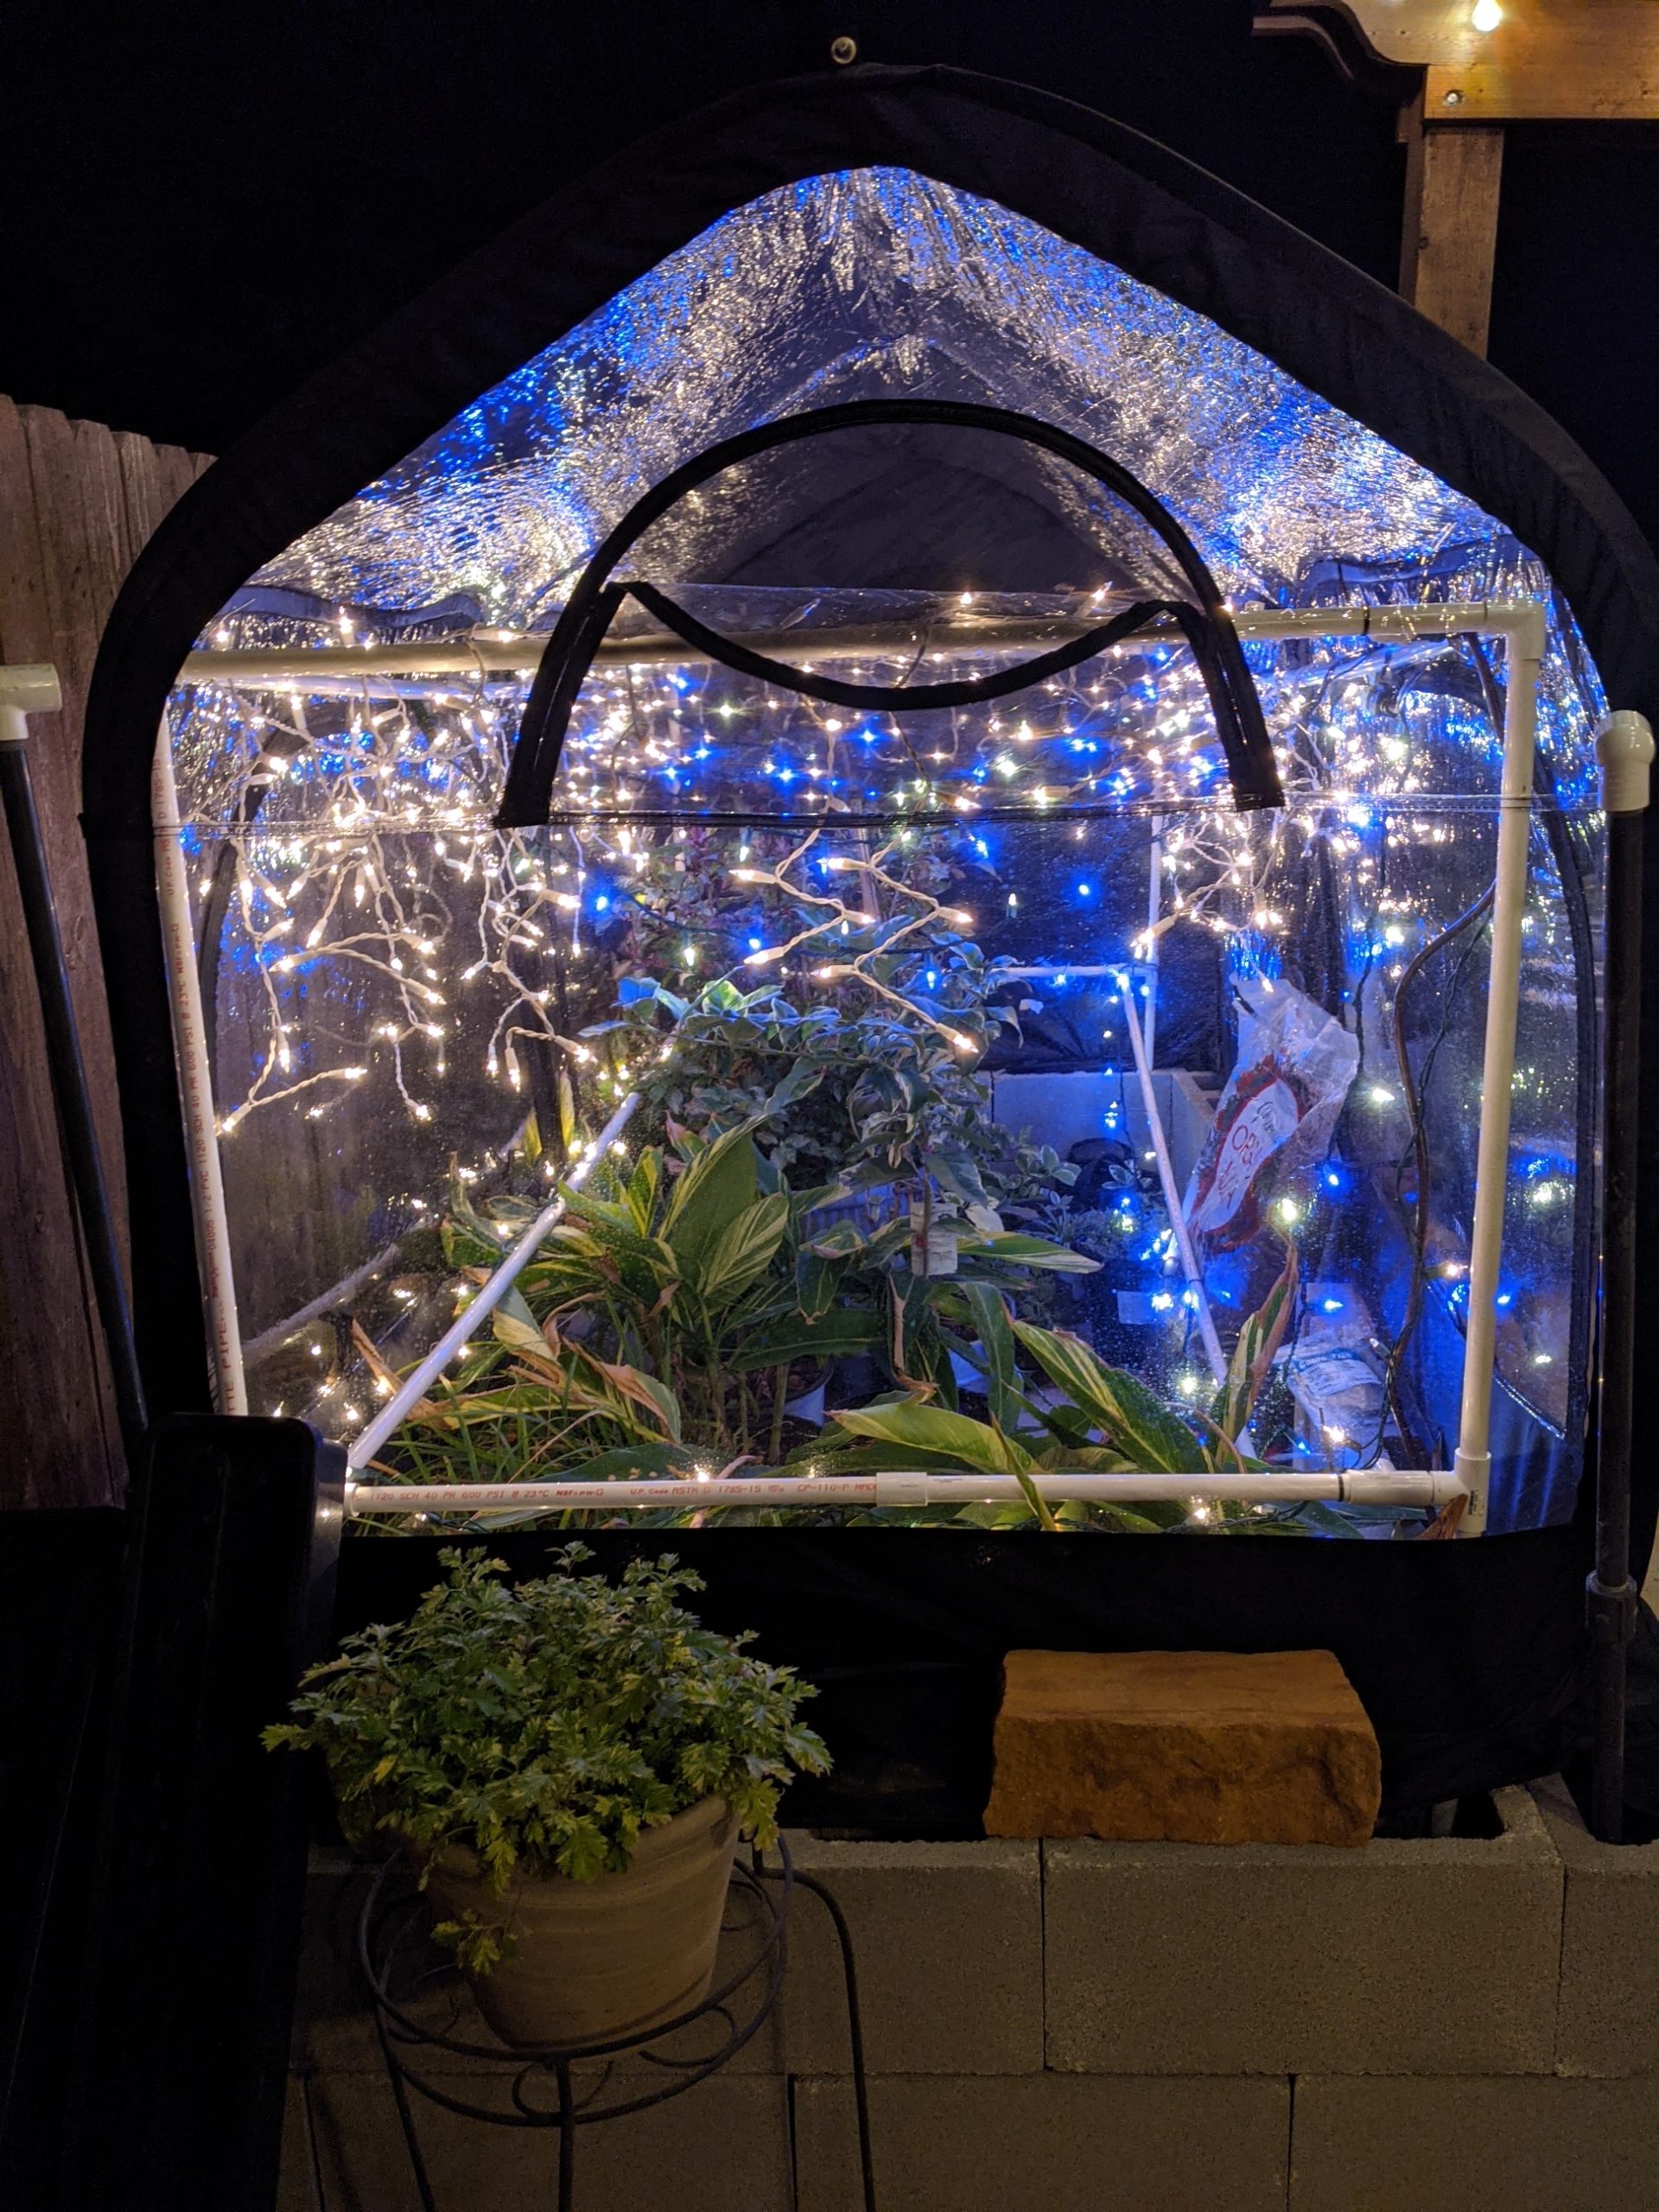
Maybe the old lights were LED, which couldn’t warm up the space like I wanted. So I hunted down some incandescent C9 string lights at the local home improvement store–and voila–instant results!

Temperatures stayed anywhere in the range of 4 to 10 degrees above local outdoor overnight temps. And the tent was brighter too. Overall I used a total of 3 25ft string lights, connected to a splitter on the power cord end. The number of bulbs limited the number of strings that could be connected together, without blowing a fuse–unlike the LED strings that I had hung previously.

On the wall end, the power cord connects to a wifi-enabled dual headed outlet rated for outdoor use. It was handy to schedule times when the lights turned off and on. I could also run automation to turn on the lights when local temperatures dipped below a certain threshold.

All in all, it was a learning experience setting up the tent and heating it. Time will tell if this outdoor grow house setup can endure the harsh winter elements. The only grievance I have is with the delicate C9 bulbs whose filaments break very easily at the slightest blow. I discovered this after I tested every light beforehand, only to find bulbs damaged post installation.

Bulb-tastic

My Brent and Becky’s bulb order has arrived! 450 tulip and narcissus bulbs just in time for north Texas winter planting.

Now digging up places to plant them! In the end we expanded the northern border bed by another foot, weeding out the bermuda and re-installing the stone edge as we went along.

Looking forward to seeing the spring flower show!

Wishlist: Grow Light Upgrade

Now that winter temperatures have finally arrived in North Texas, the plants that I intend to shelter indoors have settled into their new home in the garage and on my window sill.

I’ve had a combination of LED shop lights made by Lights of America and iPower red-white-blue LED tube with stand to start seeds and grow plants indoor.

On my potting bench, doubling as my seed starting rack, I also have a total of 4 heat mats, to keep my seedlings and starter plants cozy. I recently had to re-purchase an Inkbird temperature controller, and threw in a humidity controller.

Two-for-one deal at Amazon

I went ahead and also splurged on a 4ft 10-outlet power strip that I attached to the back of the potting bench, and some wifi-enabled Wyze smart plugs to which the lights are connected.

Sooo many mouths to feed

I’m debating if new-tech LED panels versus T5 fluorescents are the way to go for starting and sustaining plants indoors. In the cold conditions of a garage in winter, a fluorescent light fixture might emit enough warmth to keep temperatures tolerable for mature plants, but cook young seedlings. On the other hand, LEDs remain cool enough to be useful in seed starting and can emit full spectrum light, but tend to be higher in starting costs. Longevity and efficiency are also considerations, since fluorescent will use up more electricity and need bulb replacement more frequently.

I have a 77″ tall rolling wire rack ordered which I plan to outfit with lights and store the remainder of my potted plants in order to reclaim some floor space. But finding a grow light to suit the space, budget and light requirements is daunting. I’ve spent days scrolling through the internet reading articles and watching videos on the subject of grow lights; a search that often boils down to which camp you belong to: commercial horticultural operations or cannabis grower. Anything that caters to an indoor plant hobbyist or small scale/home gardener almost always tends to be of low or budget quality.

Can I get by with $15 Walmart lights? I have successfully germinated seeds with the existing light setup I have, but I’m wondering if I can start them faster, stronger, better? Stay tuned!

Winterizing the Backyard Beds

Finished trimming shrubs and trees, planting out the last of the brussels and broccoli starts, and composted the beds last week. Just in time for November’s first frost date.

At first I thought I’d have to discard the extra starts, but I decided to install them into the cinder block wall, as well as the 65 gallon felt pot in which the lorapetalum has found a new home.

The nights have dipped back down into the 40s and 50s, so I’m hoping my outdoor greenhouse tent will keep my sensitive plants protected. I’m researching ways to keep things warm in there without resorting to expensive heating.

DIY Stock Tank Gardens Part 2

I planted the 2nd stock tank garden bed about 2 weeks after the first, to stagger my production. I changed up the filler material and soil composition to see if ultimately results will comparable to the first tank.

End of the season watermelons went into building the foundational layer of the bed, along with stem and brush cuttings. I dearly hope that I’m not growing a watermelon patch in this tank.

In this bed, I used Raised Garden Bed soil, organic compost, peat moss, coarse vermiculite and perlite in different ratios compared to the first bed. I still broadcast Espoma Garden-tone fertilizer over the surface once it was filled up and ready for planting

As with the other bed, tank #2 has cauliflower, brussel sprouts, broccoli, dill and garlic aplenty. This time, I added bok choy and spinach starts. But of course, there wasn’t enough space to hold all the broccoli and brussel sprout starters I still had waiting in the wings. I’ve been discussing with the DH if we should get 2 more stock tanks to DIY into garden beds, but of course the limiting factor will be patio space.

All planted with the winter garden! I left a 12″ square open for the next batch of bunching onions, spinach and lettuce I’ve started from seed. Meanwhile, I plan on using that bouquet dill shortly.